
🔹 所需组件
✅ Arduino(Uno/Nano/等)
✅ SG90伺服电机
✅ 10kΩ电位器
✅ 跳线和面包板
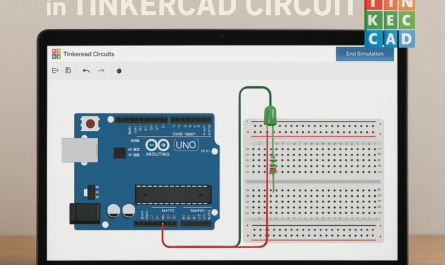
🔹 电路连接
| 元件 | Pin | 连接至 |
|---|---|---|
| SG90伺服 | 红色(VCC) | 5V |
| 棕色的 (GND) | GND | |
| 橙色(信号) | Pin 9 (脉宽调制) | |
| 电位器 | 左 Pin | GND |
| 中间 Pin | A0 (模拟输入) | |
| 右 Pin | 5V |

🔹 Arduino 代码(带电位器的伺服控制)
#include <Servo.h>

Servo myServo;  // Create servo object
int potPin = A0;  // Potentiometer connected to A0
int potValue;     // Variable to store potentiometer value

void setup() {
    myServo.attach(9);  // Servo signal wire connected to Pin 9
}

void loop() {
    potValue = analogRead(potPin);  // Read potentiometer value (0-1023)
    int angle = map(potValue, 0, 1023, 0, 180);  // Convert to 0-180°

    myServo.write(angle);  // Move servo to mapped angle
    delay(15);  // Small delay for smooth movement
}
🔹 运行代码的步骤
1️⃣ 按照电路图连接所有东西。
2️⃣ 将代码上传到您的 Arduino。
3️⃣ 转动电位器并观察伺服器平稳移动! 🎛️🤖