
🔧 Components Needed
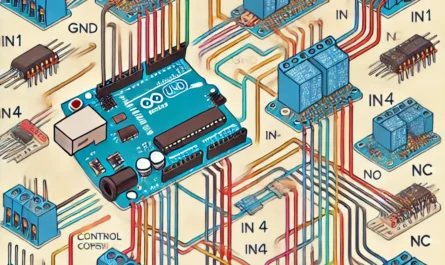
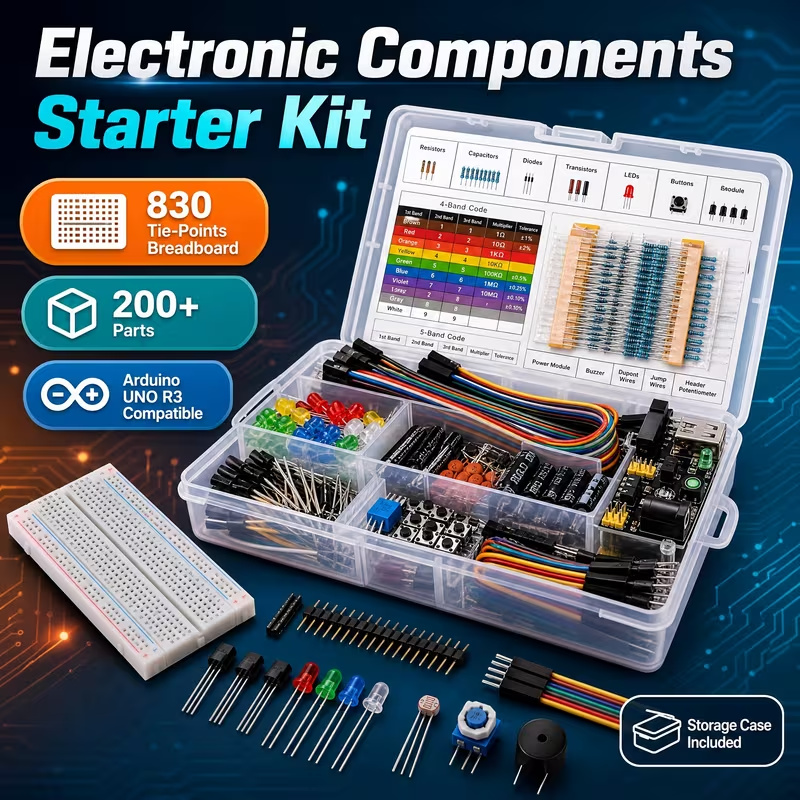
- Arduino Board (e.g., Uno or Arduino R4)
- I2C LCD 1602 Display (typically at address 0x27)
- Jumper Wires & Breadboard
- Computer (for Serial Monitor input)
📌 Wiring Connections
- I2C LCD 1602 Display:
- VCC: → Arduino 5V
- GND: → Arduino GND
- SDA: → Arduino A4 (on Uno) or the appropriate SDA pin
- SCL: → Arduino A5 (on Uno) or the appropriate SCL pin
💻 Code Example
Below is a sample sketch that creates a very basic text RPG. The game consists of several “scenes” with a short description and two options (labeled 1 and 2). The player types their choice in the Serial Monitor, and the game advances accordingly.
#include <LiquidCrystal_I2C.h>

// Initialize the LCD (I2C address 0x27, 16 columns x 2 rows)
LiquidCrystal_I2C lcd(0x27, 16, 2);

// Define a Scene structure for our text RPG
struct Scene {
  const char* line1;   // First line of text (max 16 characters)
  const char* line2;   // Second line of text (max 16 characters)
  int nextSceneA;      // Next scene if player chooses option 1
  int nextSceneB;      // Next scene if player chooses option 2
};

// Example scenes
Scene scenes[] = {
  // Scene 0: Introduction
  { "You wake up...", "1: Left 2: Right", 1, 2 },

  // Scene 1: Left Option
  { "A dark cave...", "1: Explore 2: Run", 3, 0 },

  // Scene 2: Right Option
  { "A sunny field...", "1: Rest 2: Quest", 0, 3 },

  // Scene 3: Victory/End
  { "Victory!", "Game Over", -1, -1 }
};

int currentScene = 0;

void setup() {
  Serial.begin(9600);
  lcd.init();
  lcd.backlight();

  // Display the first scene
  displayScene(currentScene);
  Serial.println("Enter option 1 or 2:");
}

void loop() {
  if (Serial.available() > 0) {
    int choice = Serial.parseInt();  // Read the player's choice (1 or 2)

    if (choice == 1 || choice == 2) {
      int nextScene;
      // Choose the next scene based on input
      if (choice == 1) {
        nextScene = scenes[currentScene].nextSceneA;
      } else {
        nextScene = scenes[currentScene].nextSceneB;
      }

      // If nextScene is -1, the game ends
      if (nextScene == -1) {
        lcd.clear();
        lcd.setCursor(0, 0);
        lcd.print("The End");
        Serial.println("The End");
        while (true) { } // Halt execution
      } else {
        currentScene = nextScene;
        displayScene(currentScene);
        Serial.println("Enter option 1 or 2:");
      }
    }
  }
}

// Function to display the current scene on the LCD
void displayScene(int index) {
  lcd.clear();
  lcd.setCursor(0, 0);
  lcd.print(scenes[index].line1);
  lcd.setCursor(0, 1);
  lcd.print(scenes[index].line2);
}
📋 How It Works
- Scene Structure:
Each scene consists of two text lines (perfectly formatted for a 16×2 LCD) and pointers (scene indices) for the next scene based on the player’s choice. - User Input:
The player enters their choice (1 or 2) via the Serial Monitor. The code reads this input withSerial.parseInt(). - State Transition:
Based on the choice, the game moves to the corresponding next scene. If a scene’s next pointer is-1, the game ends. - LCD Display:
The current scene’s text is cleared and updated on the LCD for the player to read.
🎯 Enhancements & Ideas
- Character Stats:
- Introduce variables for health, mana, or experience.
- Display stats on the LCD or Serial Monitor along with scene text.
- Inventory System:
- Allow players to collect items and affect the narrative.
- Multiple Levels & Branching Paths:
- Expand the scene array to include more complex storylines and choices.
- Button Input:
- In place of the Serial Monitor, add physical buttons for options 1 and 2.
- Custom Characters:
- Create custom LCD characters (e.g., smiley faces, icons) to represent events or outcomes.
🎯 Conclusion
This sample text RPG is a starting point for building a retro, text-based adventure on your Arduino with an I2C LCD 1602. Although the LCD size is limited, you can still craft engaging stories and interactive choices. Feel free to expand the game with more scenes, character stats, and features to create your very own Arduino RPG!
Happy adventuring! 😊👍
Temu affiliate offer
Optional accessory for this article
If you use the optional breadboard for this text game, it can organize the display-signal junctions while the program runs on the controller. This Temu offer is a four-pack of 400-point boards; it does not include the display or controller.
Some links below are Temu affiliate links. Tricky Circuit may earn a commission if you buy through them.
YIDI 400-point solderless breadboards, 4-pack — view Temu offer