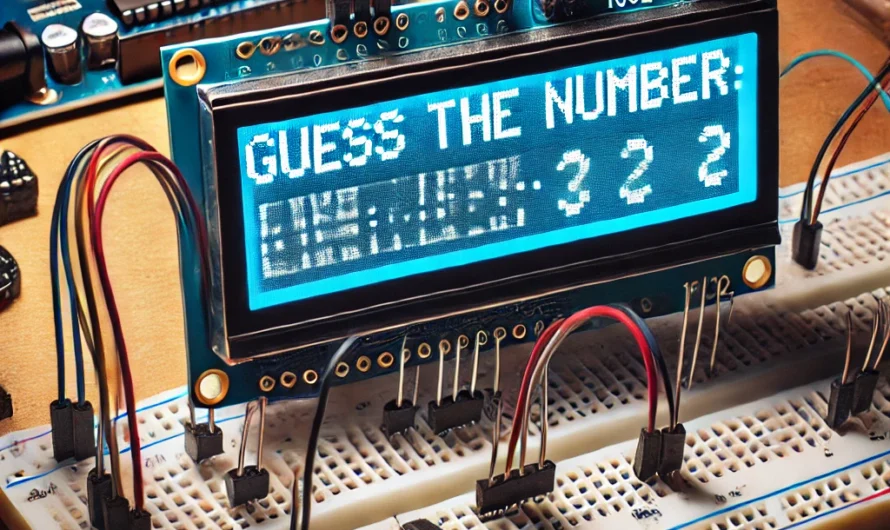
🔧 Schematic: Connecting a Relay with an External Power Source and Arduino
1️⃣ Components Needed 2️⃣ Schematic Diagram Here’s how to wire these components: Details of Connections: Additional Components: 3️⃣ Code Snippet for Arduino To control the …
Unravel the Mystery of Electronics
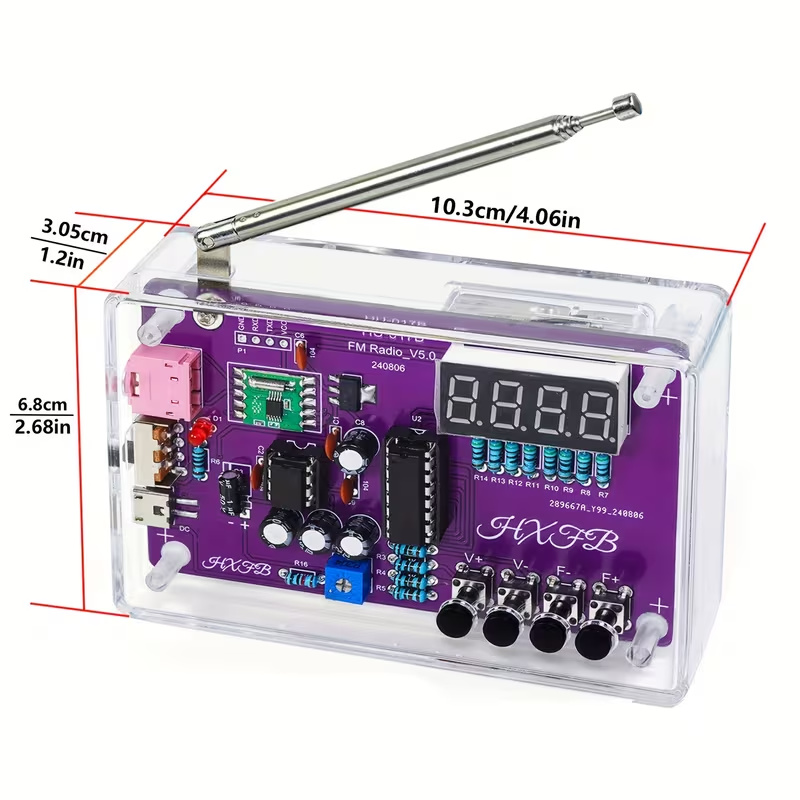
Soldering required. Check the supplied parts and board revision.
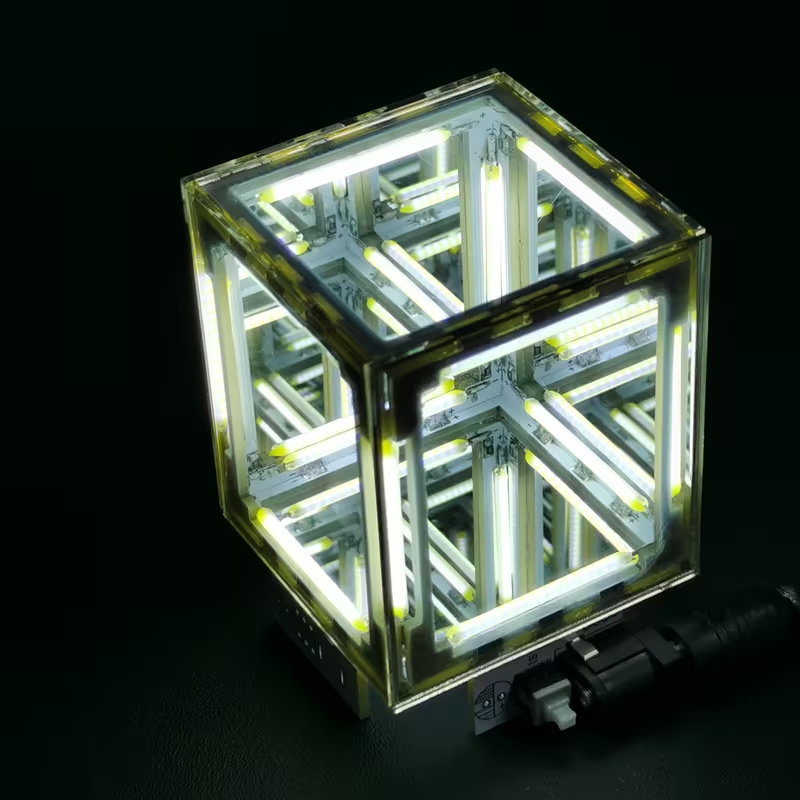
Listing specifies 5-volt direct current. Soldering required; battery and glue not included.
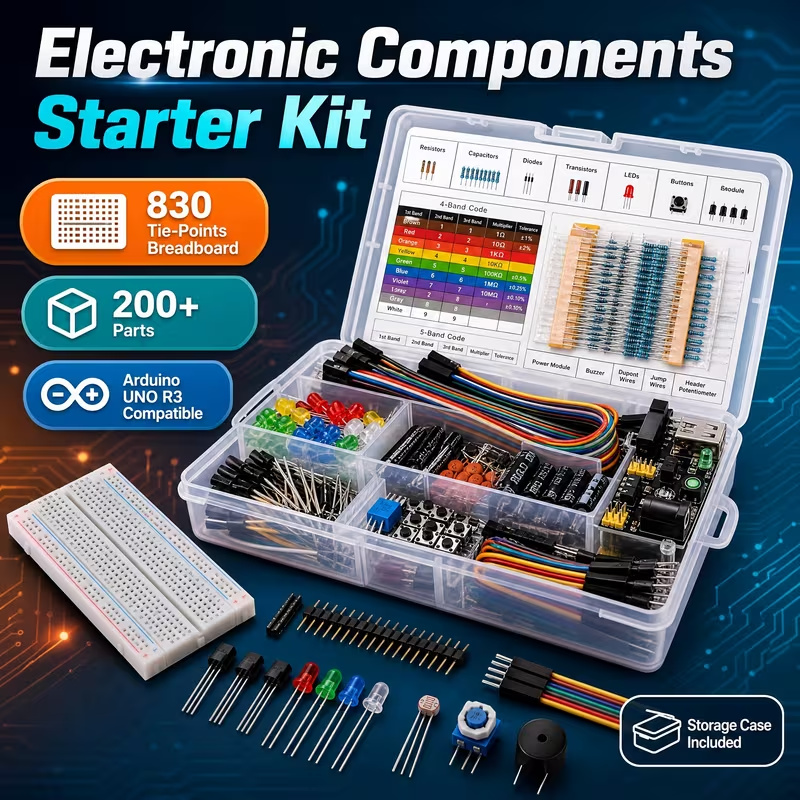
Breadboard, wires and assorted parts. Arduino controller board not included.
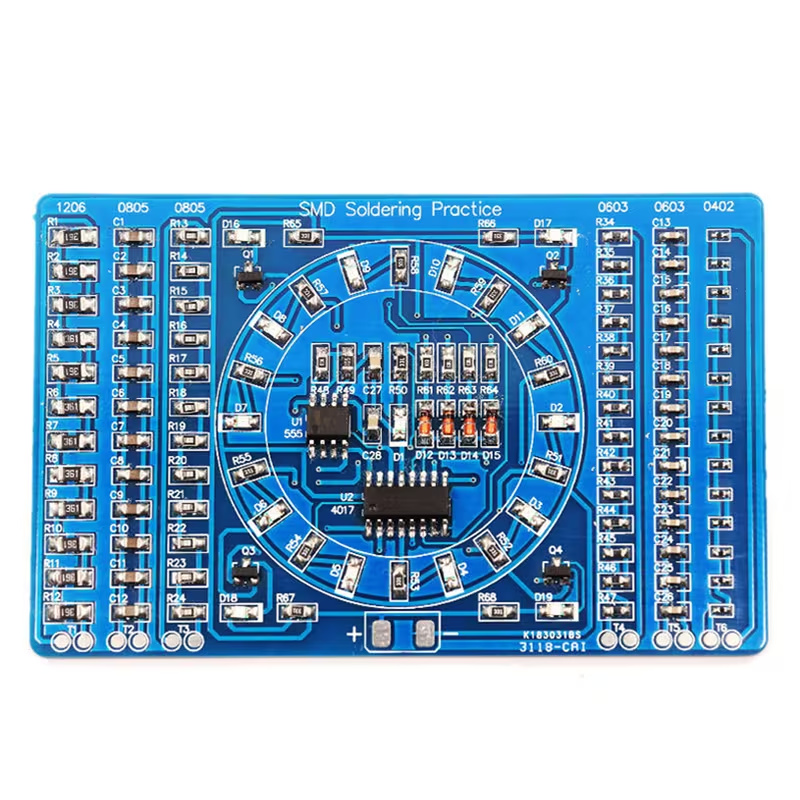
Surface-mount soldering practice. Battery and battery holder not included.
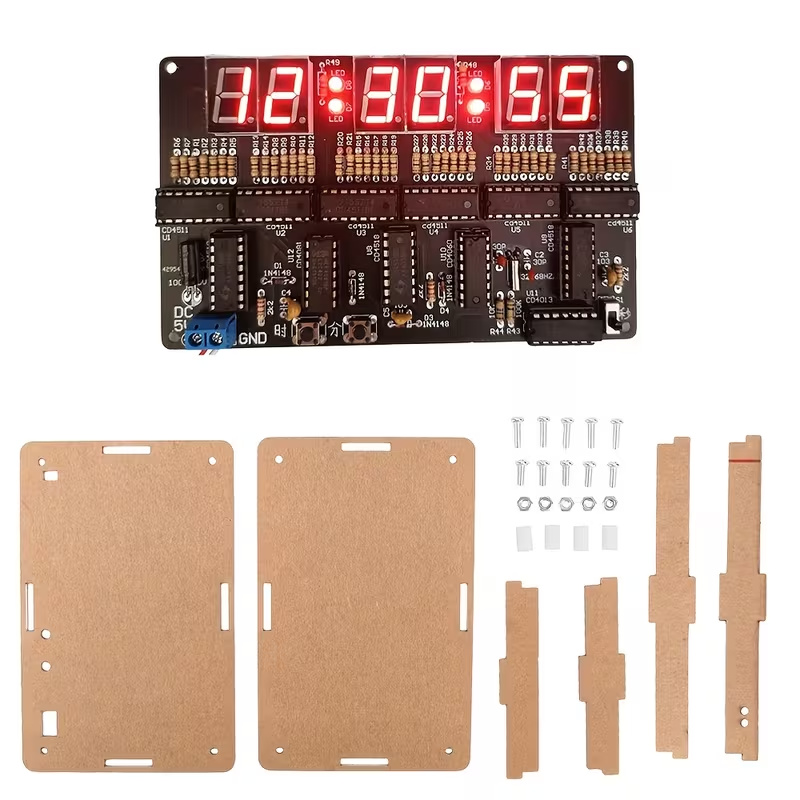
Clock-and-case project kit. Soldering required; check included parts and power requirements.
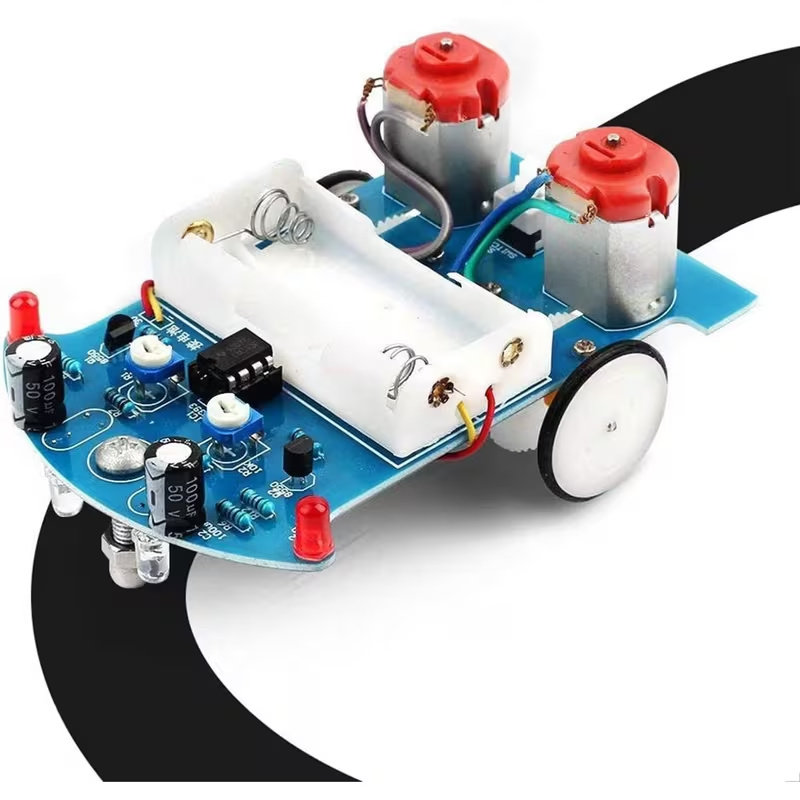
Soldering and assembly required. Check battery and track requirements before buying.
Tricky Circuit may earn a commission through these links. Product ideas have not been bench-tested by Tricky Circuit and are not verified lesson parts lists.
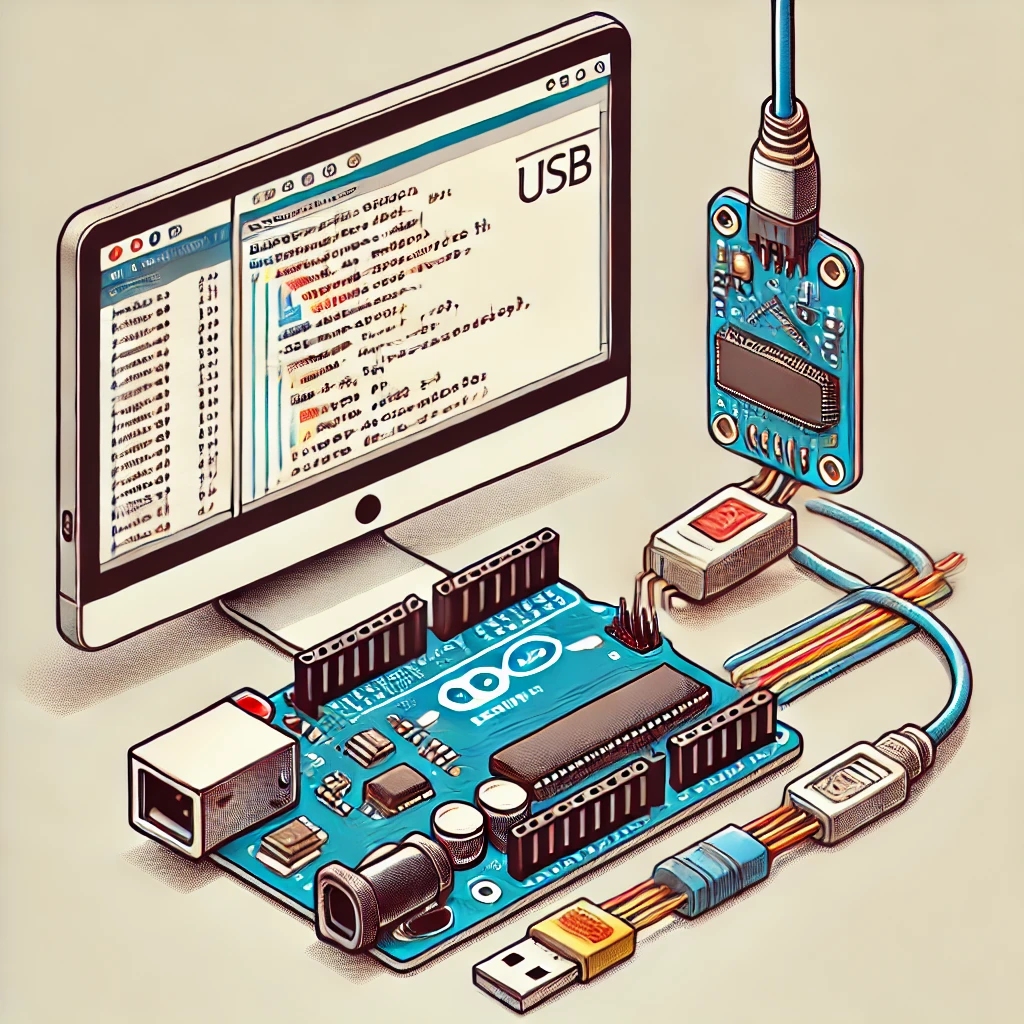
The Arduino IDE (Integrated Development Environment) is a free, open-source software used for writing and uploading programs to Arduino-compatible boards. It features a simple, user-friendly interface designed for beginners, yet robust enough for advanced users, supporting both C and C++ languages. The IDE includes a code editor, compiler, and uploader to facilitate the development of Arduino projects, from simple blinking LEDs to complex robotic controls.
1️⃣ Components Needed 2️⃣ Schematic Diagram Here’s how to wire these components: Details of Connections: Additional Components: 3️⃣ Code Snippet for Arduino To control the …
Using C++ for microcontroller programming effectively marries the language’s powerful features with the specific needs of embedded systems, such as direct hardware interaction and real-time performance. This approach allows for the development of more complex and reliable embedded applications.
Adding a scoring system not only makes the game more challenging but also provides players with a quantitative measure of their skill or progress.
🔧 Components Needed 📌 Wiring Connections 1. I2C LCD 1602 Display 2. Reset/Advance Button 💻 Code Example Below is the complete sketch that implements the …
1️⃣ Connect Your Arduino 2️⃣ Open the Arduino IDE 3️⃣ Select the Correct Board 4️⃣ Select the Correct Port 5️⃣ Verify (Compile) Your Code 6️⃣ …
Explore these do-it-yourself project kits. Check the selected option, included parts and instructions on each offer.
Tricky Circuit may earn a commission if you buy through these Temu affiliate links. These are product ideas; they have not been bench-tested by Tricky Circuit and are not verified lesson parts lists.
Supplier product photo
Soldering required. Check the supplied parts and board revision.
Supplier product photo
Listing specifies 5-volt direct current. Soldering required; battery and glue not included.
Supplier product photo
Breadboard, wires and assorted parts. Arduino controller board not included.
Supplier product photo
Surface-mount soldering practice. Battery and battery holder not included.
Supplier product photo
Clock-and-case project kit. Soldering required; check included parts and power requirements.
Supplier product photo
Soldering and assembly required. Check battery and track requirements before buying.