ATtiny85 Mailbox Flag: Remember an Opening, Then Sleep
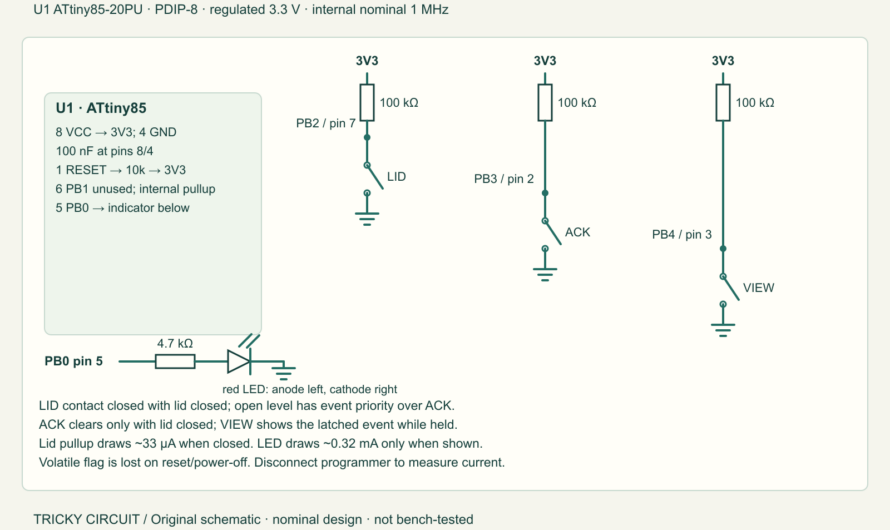
Build a sleeping ATtiny85 mailbox flag with a lid contact, acknowledge button and press-to-view LED. Measure the complete current budget instead of guessing battery life.
Unravel the Mystery of Electronics
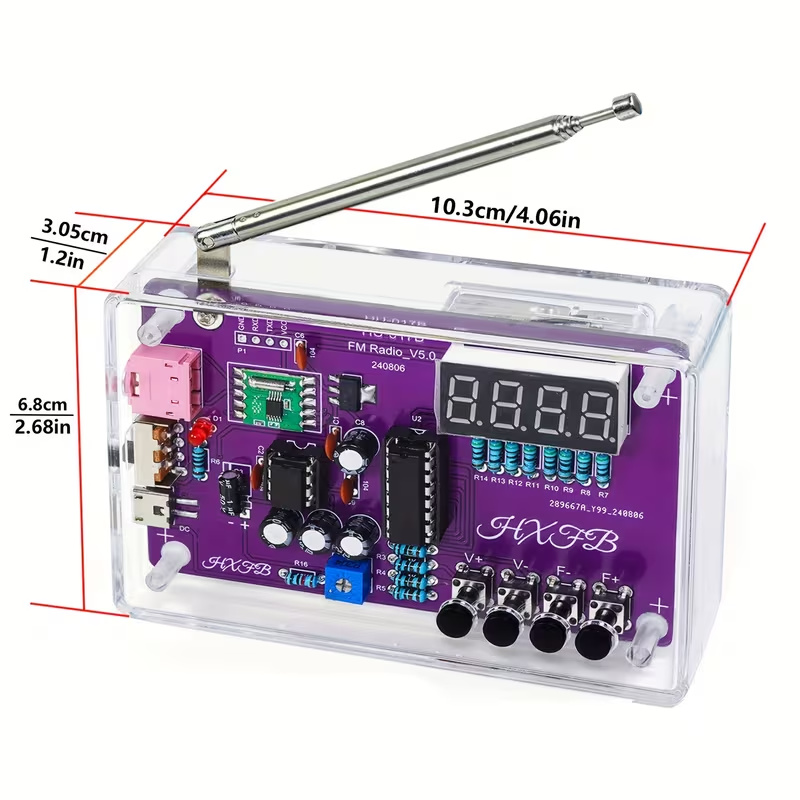
Soldering required. Check the supplied parts and board revision.
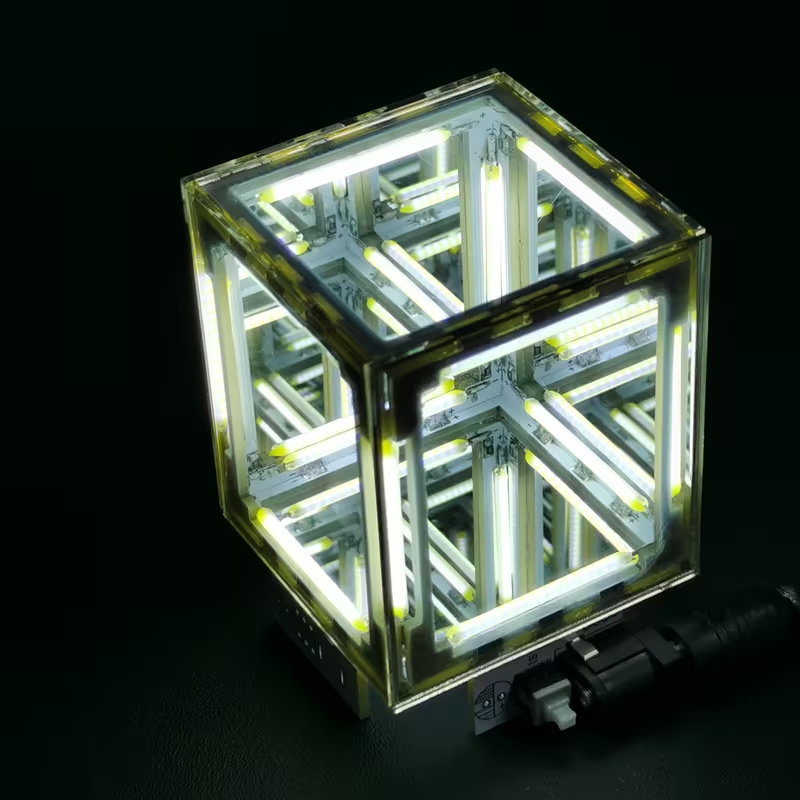
Listing specifies 5-volt direct current. Soldering required; battery and glue not included.
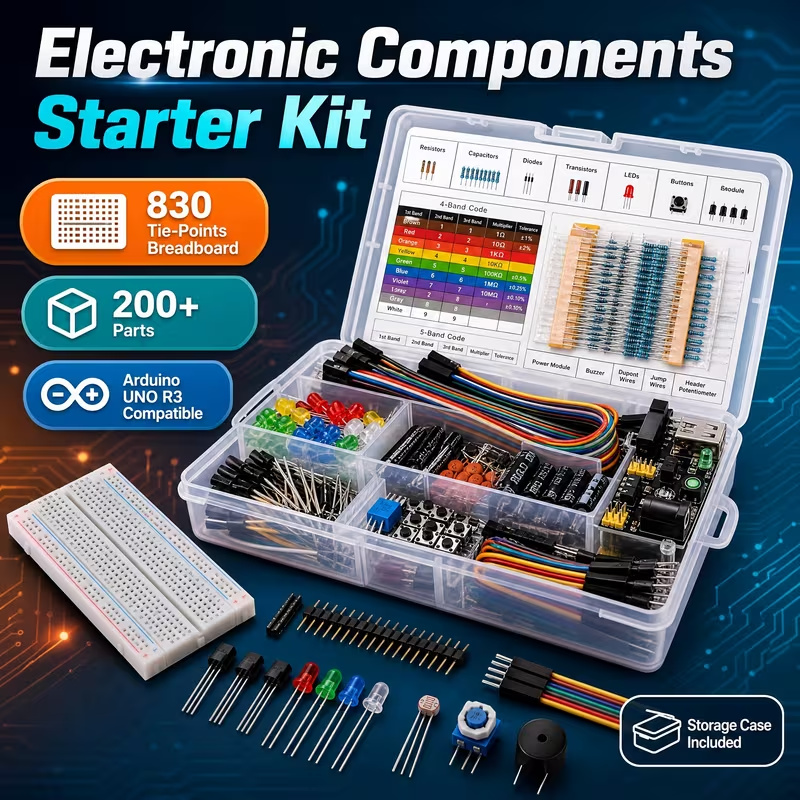
Breadboard, wires and assorted parts. Arduino controller board not included.
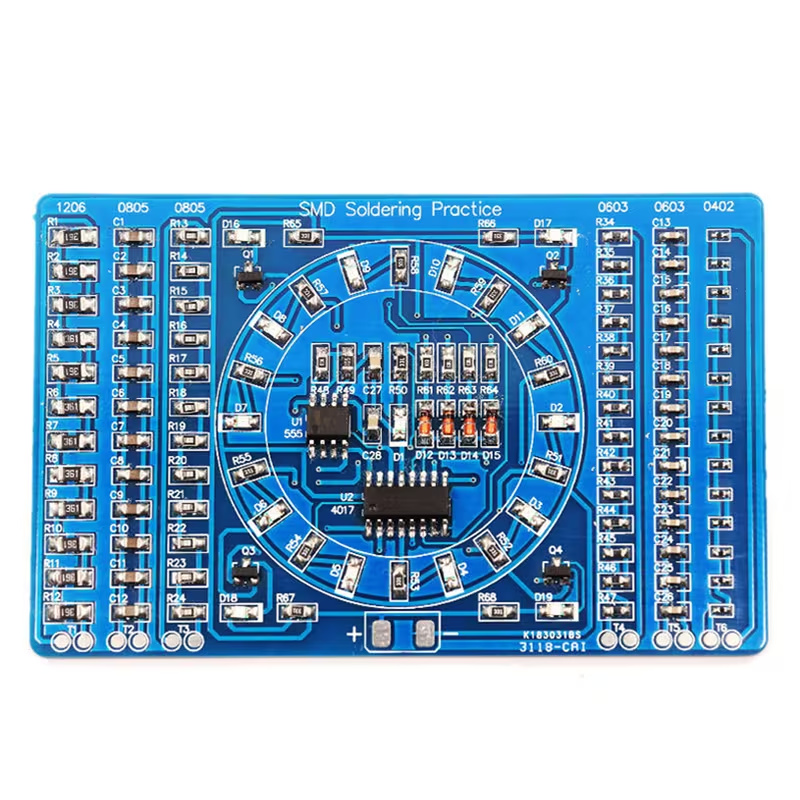
Surface-mount soldering practice. Battery and battery holder not included.
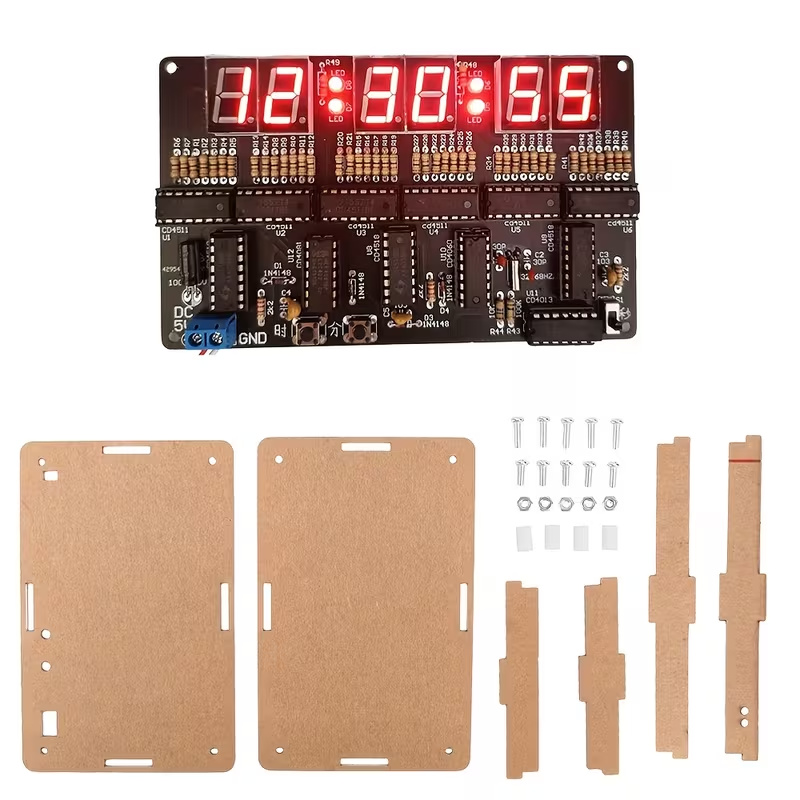
Clock-and-case project kit. Soldering required; check included parts and power requirements.
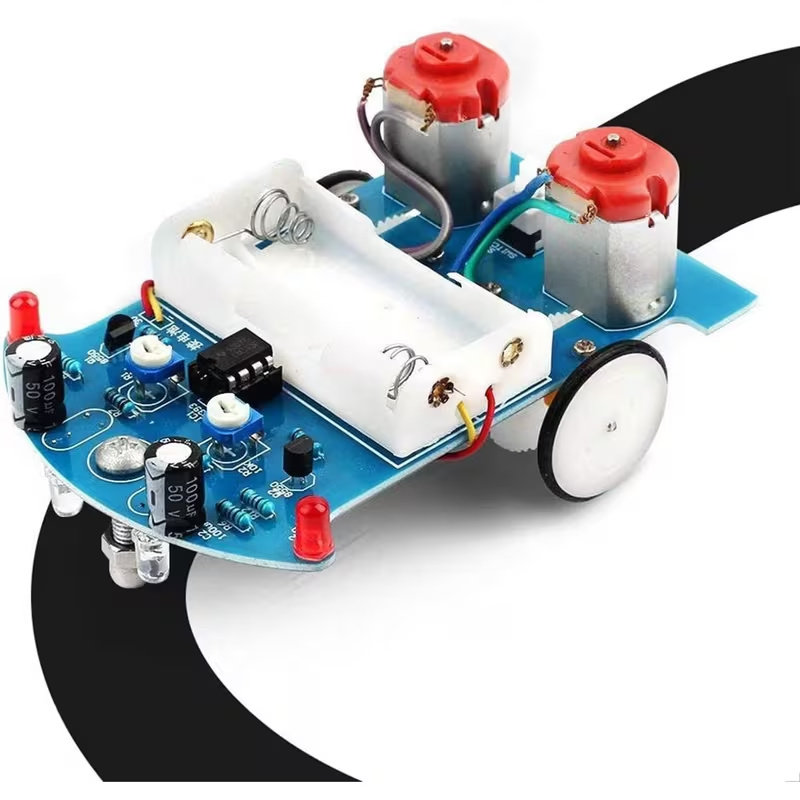
Soldering and assembly required. Check battery and track requirements before buying.
Tricky Circuit may earn a commission through these links. Product ideas have not been bench-tested by Tricky Circuit and are not verified lesson parts lists.
Build a sleeping ATtiny85 mailbox flag with a lid contact, acknowledge button and press-to-view LED. Measure the complete current budget instead of guessing battery life.
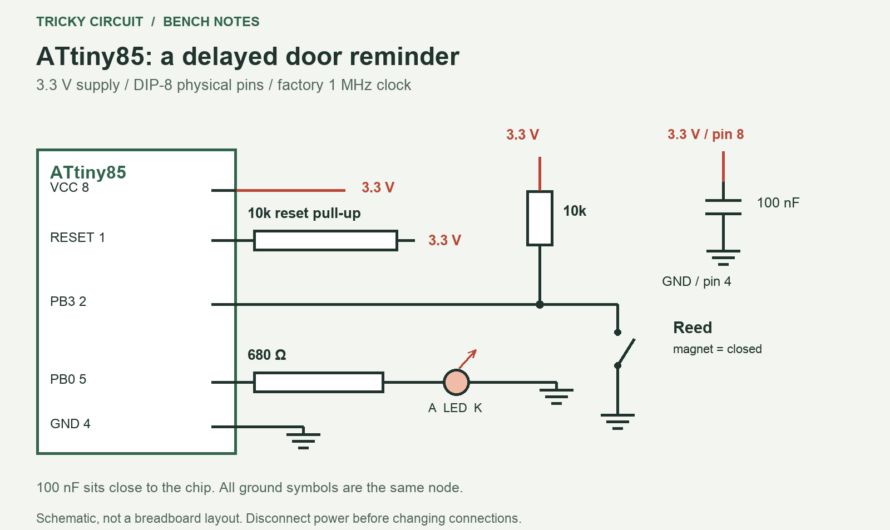
Build a reed-switch door reminder with an ATtiny85. Understand contact bounce, timer ticks and a 30-second delay with complete C firmware.
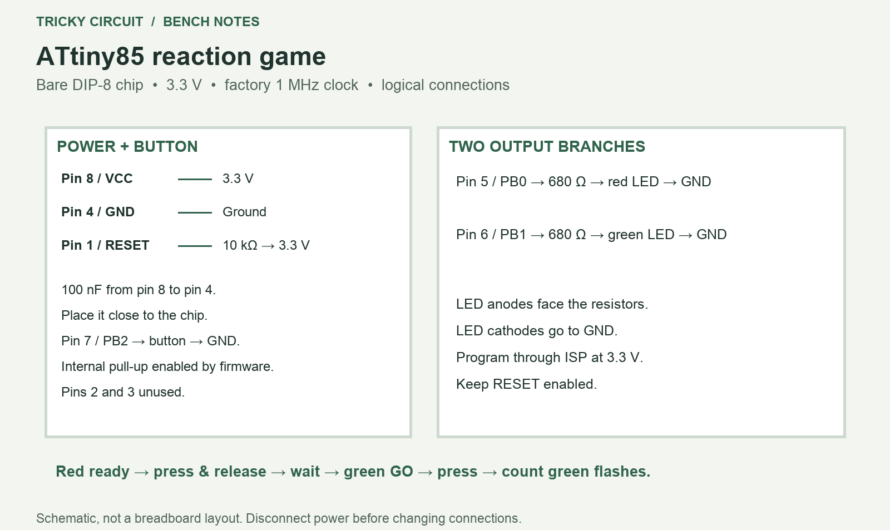
Build an ATtiny85 reaction game with two LEDs and a button. Learn timer interrupts, debounce and state machines with complete C firmware.
✅ Must-Have Components for Stable Operation Component Purpose ATtiny MCU The brains of your project 🧠 Power Supply (3.3V or 5V) Stable voltage source from …
🔧 GOAL: 🧠 HOW DOES IT WORK? Instead of controlling each LED separately, we treat each number (1–6) as a predefined pattern, and reuse the …
1️⃣ Requirements 2️⃣ Circuit Setup 3️⃣ Programming the ATtiny To generate music, you’ll be creating a sequence of tones by varying the frequency of the …
🏷️ MCU ⚙️ Arch / Speed 📶 Wireless 💾 Flash / RAM 🔌 GPIO ⚡ Voltage 💡 Highlights ESP32 Xtensa / 240MHz Wi-Fi + BT …
the code for playing music (using the tone() function) can work on many ATtiny chips (such as the ATtiny85)
1️⃣ Compact Size & Low Cost 2️⃣ Low Power Consumption 3️⃣ Simplicity & Versatility 4️⃣ Community & Resources 5️⃣ Low Pin Count 🎯 Conclusion ATtiny …
🔹 Step 1: Components Needed ✅ Microcontroller – ATtiny85✅ Servo Motor – SG90 (small) or MG996R (stronger)✅ Power Supply – 5V (for servos)✅ Potentiometer (optional) …
Explore these do-it-yourself project kits. Check the selected option, included parts and instructions on each offer.
Tricky Circuit may earn a commission if you buy through these Temu affiliate links. These are product ideas; they have not been bench-tested by Tricky Circuit and are not verified lesson parts lists.
Supplier product photo
Soldering required. Check the supplied parts and board revision.
Supplier product photo
Listing specifies 5-volt direct current. Soldering required; battery and glue not included.
Supplier product photo
Breadboard, wires and assorted parts. Arduino controller board not included.
Supplier product photo
Surface-mount soldering practice. Battery and battery holder not included.
Supplier product photo
Clock-and-case project kit. Soldering required; check included parts and power requirements.
Supplier product photo
Soldering and assembly required. Check battery and track requirements before buying.