Exploring buttons with Arduino opens up many fun and educational opportunities. Here’s a step-by-step guide on setting up a basic project to control an LED using a button.
🔧 Components Needed
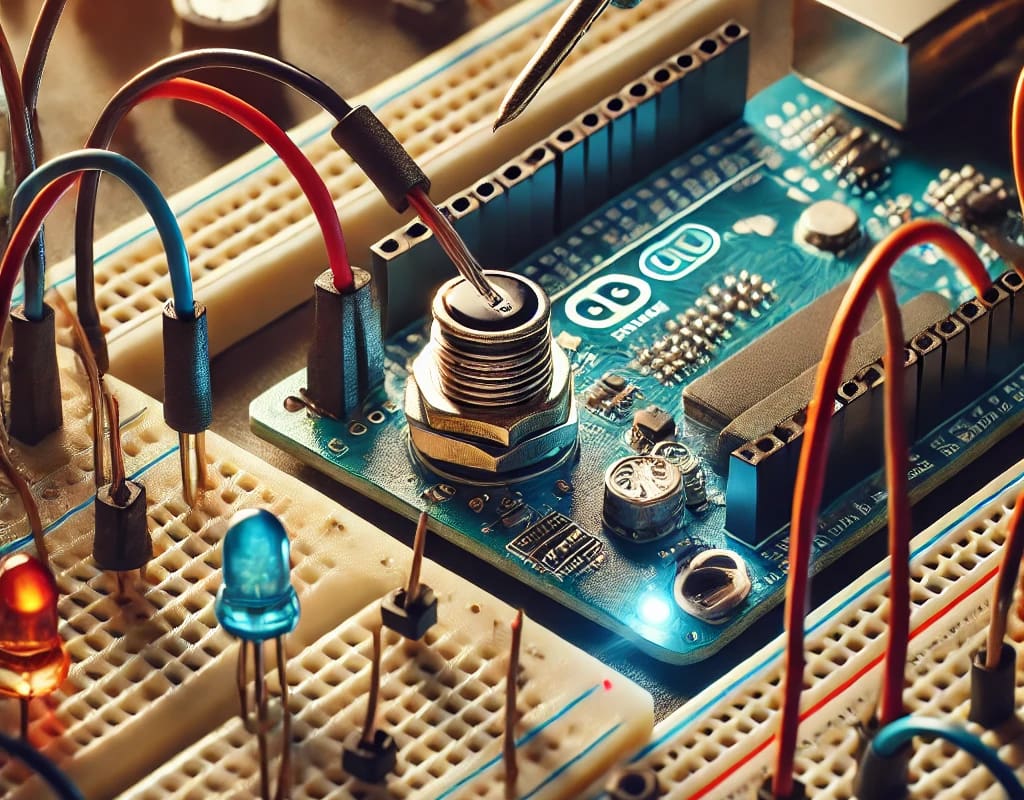
- Arduino Uno 🛠️
- Breadboard 🧰
- LED 💡
- 220-ohm Resistor ⚡
- Pushbutton 🔘
- Jumper Wires 🚀
🔨 Circuit Setup
- LED Connection:
- Anode (longer leg) ➡️ Connected to Arduino pin 13.
- Cathode (shorter leg) ➡️ Connected through a 220-ohm resistor to GND.
- Button Setup:
- One Terminal ➡️ Connected to Arduino pin 2.
- Other Terminal ➡️ Connected to GND.
- Use the internal pull-up resistor in your Arduino setup for simplicity.
📝 Sample Code
int ledPin = 13;             // LED connected to digital pin 13
int buttonPin = 2;           // Button connected to digital pin 2
int buttonState = 0;         // Variable to store the button status

void setup() {
  pinMode(ledPin, OUTPUT);             // Set the LED pin as output
  pinMode(buttonPin, INPUT_PULLUP);    // Set the button pin as input with pull-up resistor
}

void loop() {
  buttonState = digitalRead(buttonPin);  // Read the state of the button
  if (buttonState == LOW) {             // Check if the button is pressed
    digitalWrite(ledPin, HIGH);         // Turn LED on
  } else {
    digitalWrite(ledPin, LOW);          // Turn LED off
  }
}
💡 Expanding Your Project
- Menu Navigation: Use multiple buttons to navigate through an LCD menu system. 📲
- Game Controls: Create simple games using buttons for actions like jumping or moving. 🎲
- Music Player: Use buttons to control the playback of sounds or music. 🎵


