🔹 Step 1: Components Needed
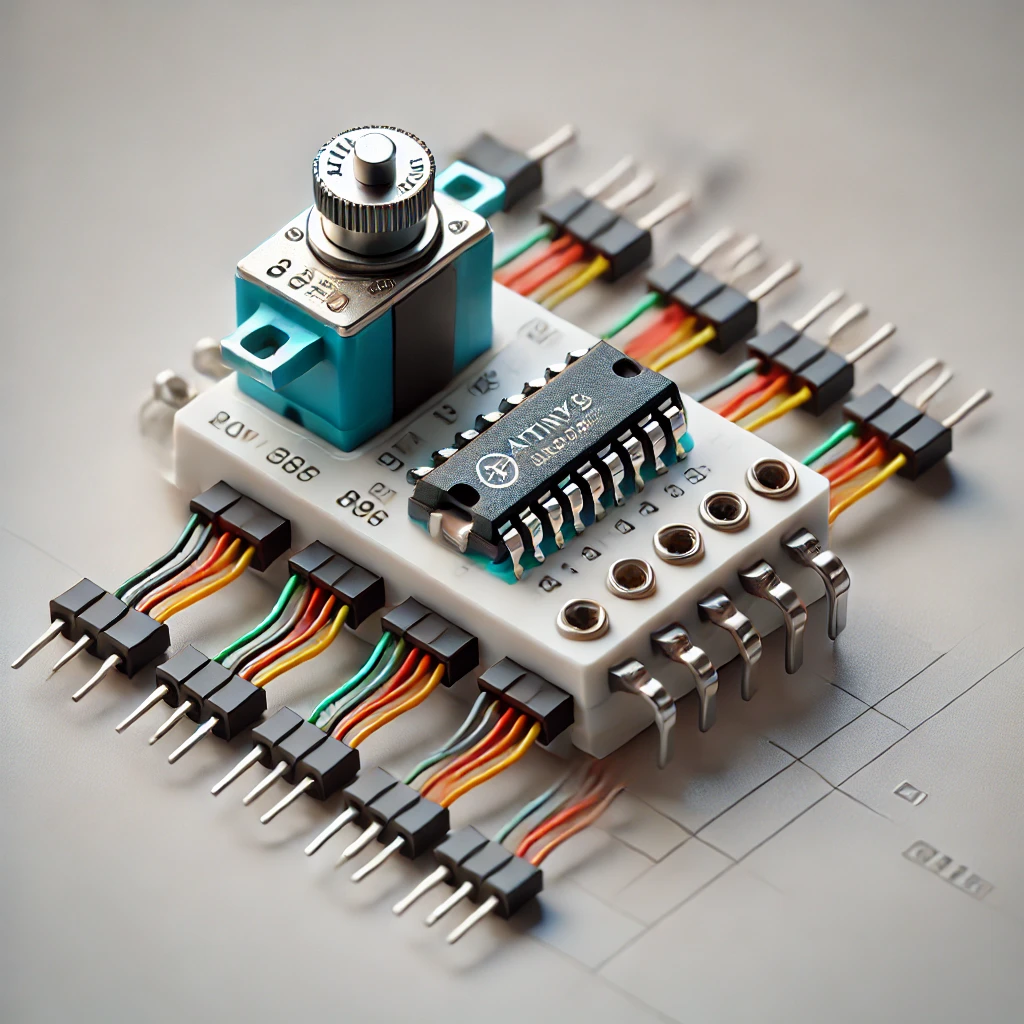
✅ Microcontroller – ATtiny85
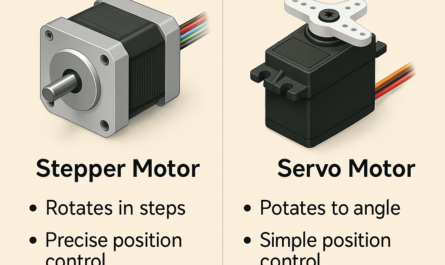
✅ Servo Motor – SG90 (small) or MG996R (stronger)
✅ Power Supply – 5V (for servos)
✅ Potentiometer (optional) – For manual control
✅ Jumper Wires & Breadboard
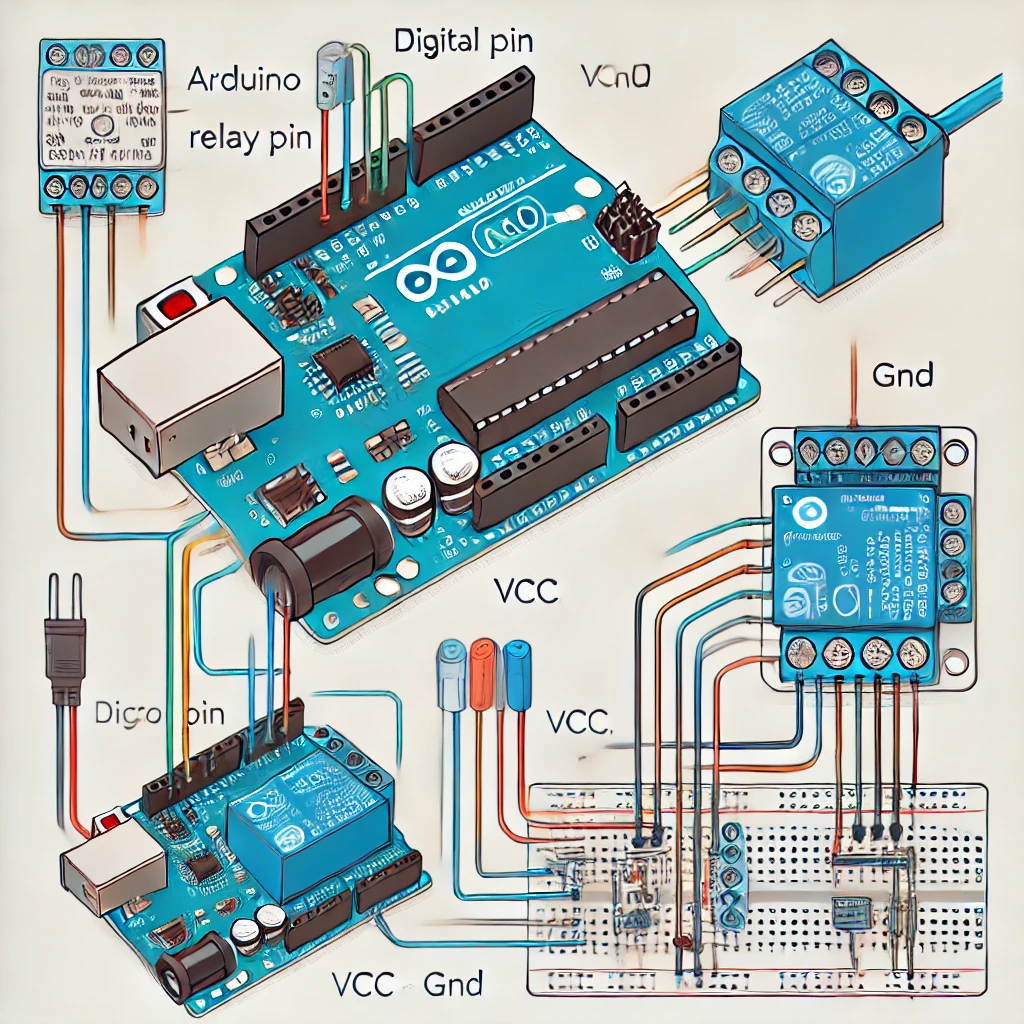
🔹 Step 2: Circuit Connection
| ATtiny85 Pin | Connected To |
|---|---|
| VCC (Pin 8) | 5V |
| GND (Pin 4) | GND |
| PB0 (Pin 5) | Servo Signal (Yellow Wire) |
| PB1 (Pin 6) | Potentiometer (Middle Pin, if used) |
🔹 Step 3: Code for Basic Servo Control
If you’re using ATtiny85, use the Servo8Bit library (because ATtiny has limited PWM).
🔹 Code for ATtiny85 (Basic Servo Movement)
#include <Servo8Bit.h>

Servo8Bit myServo;  // Create servo object

void setup() {
    myServo.attach(0);  // Connects to PB0 (Pin 5 on ATtiny85)
}

void loop() {
    myServo.write(0);    // Move to 0° position
    delay(1000);         // Wait 1 sec
    myServo.write(90);   // Move to 90° position
    delay(1000);
    myServo.write(180);  // Move to 180° position
    delay(1000);
}
🔹 Step 4: Upload Code
📌 Use Arduino as ISP to burn the code
🔹 What’s Next?
✅ Once you get the servo moving, we can:
- Add a second servo for more movement
- Use a potentiometer for manual control
- Start designing a simple robotic leg or arm