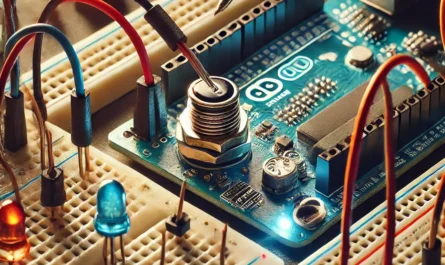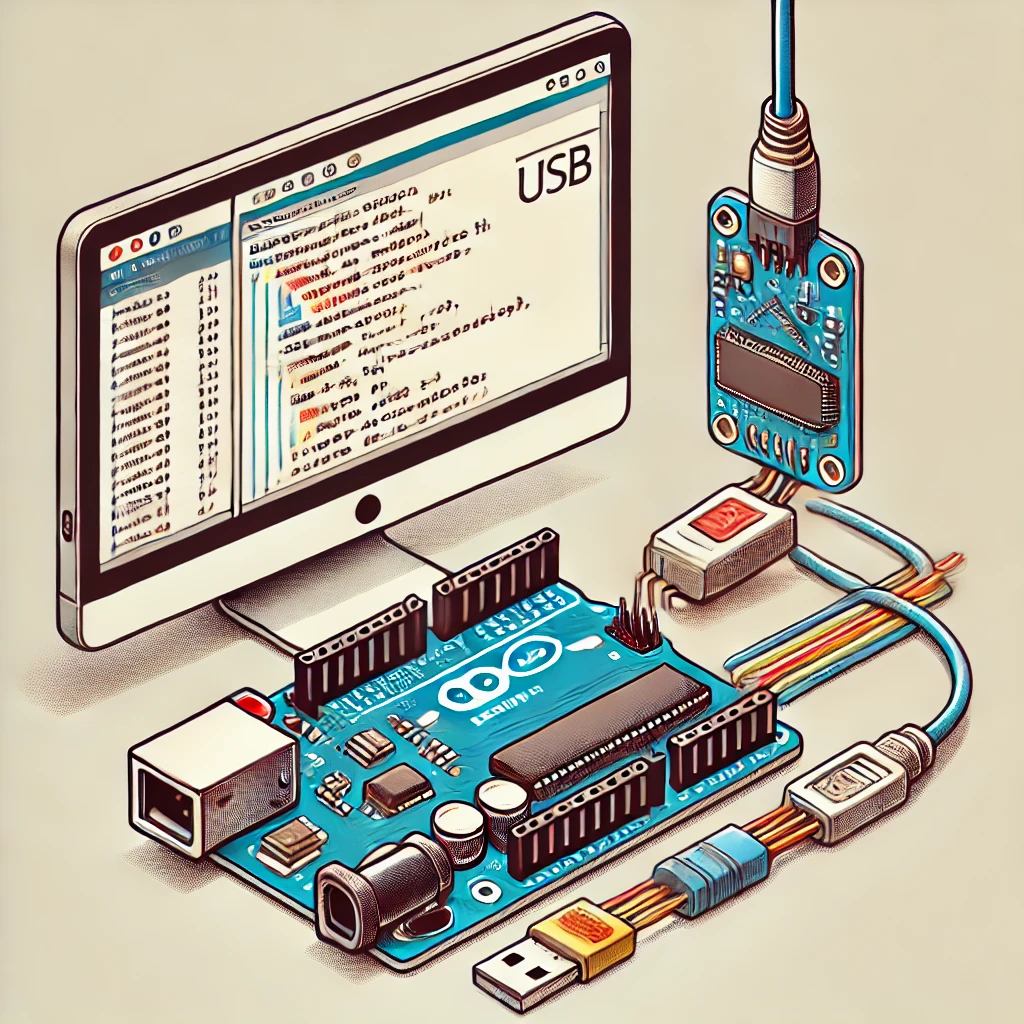
1️⃣ Connect Your Arduino
- 🔌 USB Cable:
- Connect your Arduino board to your computer using a USB cable.
- ✅ Power On:
- Your Arduino should light up, indicating that it’s powered and ready.
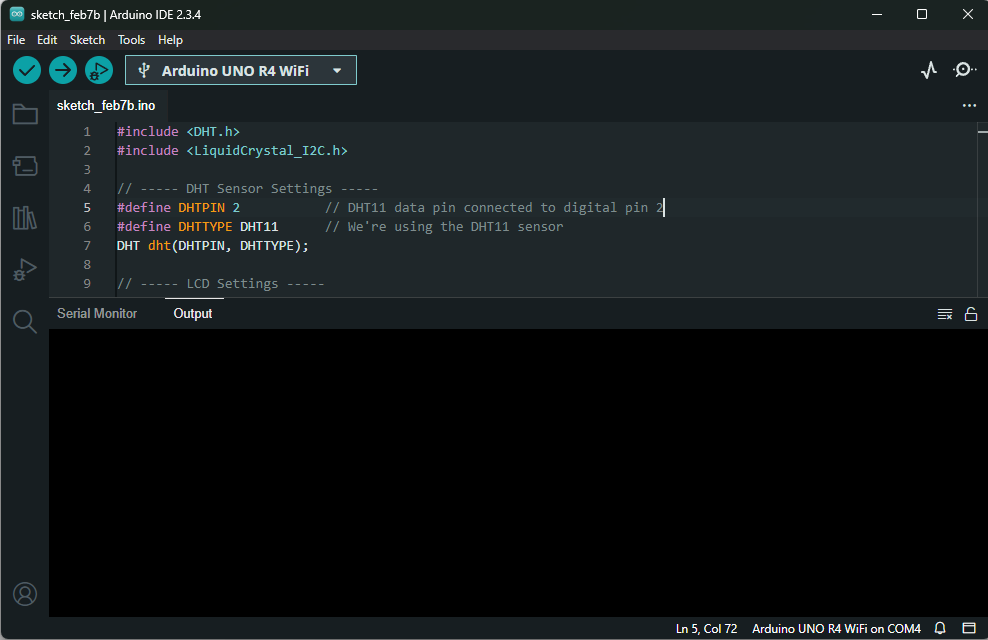
2️⃣ Open the Arduino IDE
- 📂 Launch the IDE:
- Open the Arduino IDE on your computer.
- 📝 Open Your Sketch:
- Either create a new sketch or open an existing one (e.g., File > New or File > Open).
3️⃣ Select the Correct Board
- 🛠️ Tools > Board:
- Go to the Tools menu.
- Under Board, select the model of your Arduino (e.g., Arduino Uno, Arduino Nano, etc.).
4️⃣ Select the Correct Port
- 🔍 Tools > Port:
- In the Tools menu, find the Port option.
- Choose the COM port that your Arduino is connected to (e.g., COM3 on Windows or /dev/ttyUSB0 on Linux/Mac).
5️⃣ Verify (Compile) Your Code
- ✅ Check for Errors:
- Click the Verify/Compile button (the checkmark icon) in the toolbar.
- Wait for the IDE to compile your code and confirm there are no errors.
6️⃣ Upload Your Code
- ➡️ Upload Button:
- Click the Upload button (the right arrow icon) in the toolbar.
- 🔄 Watching the Process:
- The IDE will compile your code again if necessary, then upload it to your Arduino.
- Look at the bottom of the IDE for status messages. It should say “Done uploading” when finished.
7️⃣ Confirm Your Code is Running
- 🎉 Success Indicator:
- Once uploaded, your Arduino should start running the new program immediately.
- 🔍 Test Your Project:
- Verify that the behavior (e.g., blinking LED, sensor readings) matches your sketch.
Additional Tips
- 🔄 Reset if Needed:
- Some projects may require a manual reset. Press the reset button on your Arduino if your code doesn’t run immediately.
- 💡 Debugging:
- Use the Serial Monitor (Tools > Serial Monitor) to view debug messages from your code if needed.
- 🔧 Troubleshooting:
- If the upload fails, double-check the board and port selections, and ensure your USB cable is functioning properly.
Enjoy coding and happy uploading! 😊👍