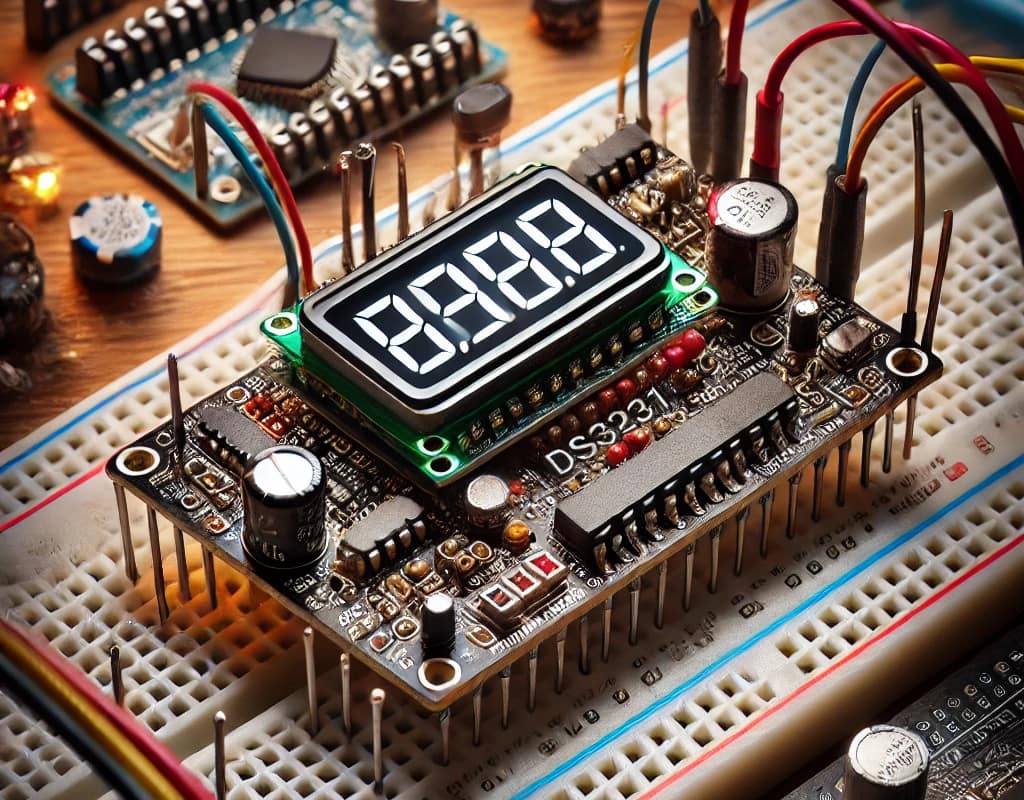
1️⃣ Components Needed
- DS3231 RTC Module: Handles all timekeeping functions.
- Microcontroller: An Arduino or any similar microcontroller can be used to interface with the RTC.
- Display: Typically, an LCD display like the 1602 LCD or an OLED display is used to show the time.
- Battery: A coin cell battery like CR2032 to keep the RTC running when the main power is off.
- Wires: For connections between the microcontroller, RTC, and display.
- Breadboard: Useful for prototyping without soldering.
2️⃣ Circuit Setup
Wiring the DS3231 to a Microcontroller (e.g., Arduino)
- VCC to Arduino 5V (or 3.3V if supported)
- GND to Arduino GND
- SCL (Serial Clock Line) to Arduino A5 (on Uno) or the SCL pin on other boards
- SDA (Serial Data Line) to Arduino A4 (on Uno) or the SDA pin on other boards
- The SQW (Square Wave) pin can be left unconnected if not used for interrupt features.
Connecting the Display
- If using an I2C LCD, connect the SDA and SCL of the LCD to the same lines as the RTC.
- Connect the LCD’s VCC and GND to the Arduino’s 5V and GND, respectively.
3️⃣ Software Setup
Programming the Arduino
#include <Wire.h>
#include <RTClib.h>
#include <LiquidCrystal_I2C.h>
RTC_DS3231 rtc;
LiquidCrystal_I2C lcd(0x27, 16, 2); // Adjust the LCD I2C address if different
void setup() {
  Serial.begin(9600);
  if (!rtc.begin()) {
    Serial.println("Couldn't find RTC");
    while (1);
  }

  if (rtc.lostPower()) {
    Serial.println("RTC lost power, let's set the time!");
    // The following line sets the RTC to the date & time this sketch was compiled
    rtc.adjust(DateTime(F(__DATE__), F(__TIME__)));
  }

  lcd.init();
  lcd.backlight();
}
void loop() {
  DateTime now = rtc.now();

  lcd.setCursor(0, 0);
  lcd.print(now.year(), DEC);
  lcd.print('/');
  lcd.print(now.month(), DEC);
  lcd.print('/');
  lcd.print(now.day(), DEC);

  lcd.setCursor(0, 1);
  lcd.print(now.hour(), DEC);
  lcd.print(':');
  lcd.print(now.minute(), DEC);
  lcd.print(':');
  lcd.print(now.second(), DEC);

  delay(1000);
}
4️⃣ Final Assembly
After programming, mount the Arduino, RTC, and display in a suitable enclosure to protect the components and provide a professional appearance.
This setup provides a basic digital clock that can be extended with features like alarms, temperature display (using DS3231’s built-in temperature sensor), or even syncing with an external time source. The DS3231’s high accuracy and battery backup capability ensure that timekeeping continues uninterrupted, even without main power.


