Introduction
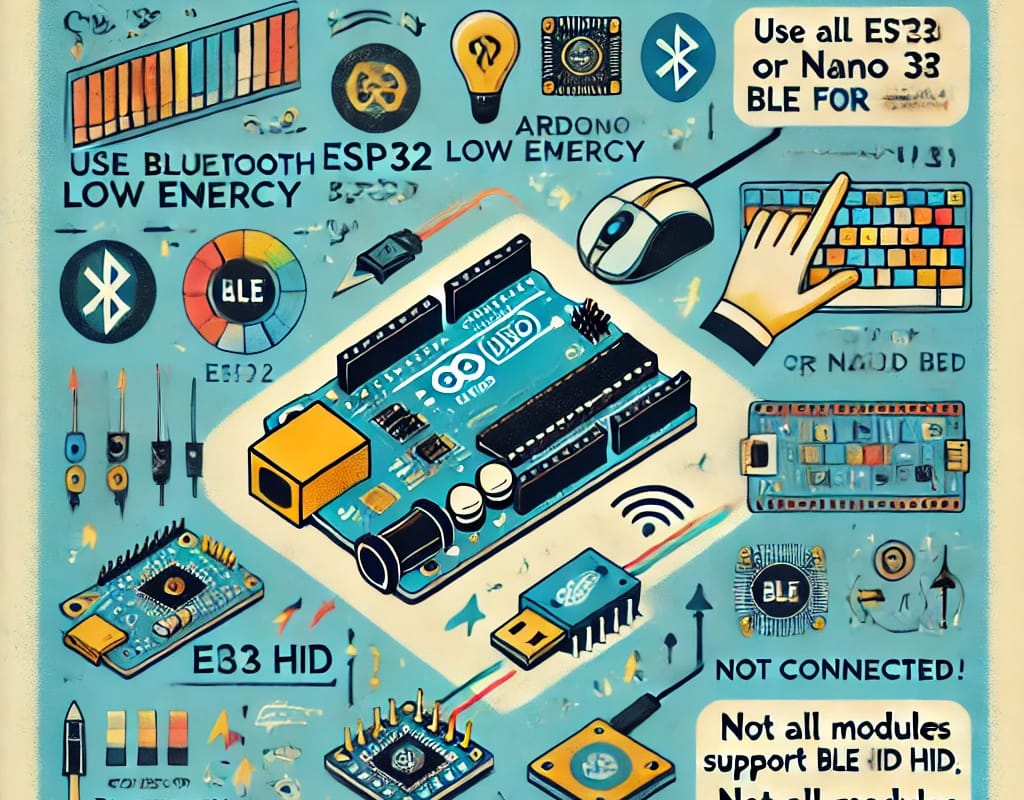
Bluetooth Low Energy (BLE) is a low-power wireless communication protocol that’s ideal for simple peripherals like sensors, buttons, or human interface devices (HIDs). Many Arduino-compatible boards now support BLE either natively (e.g., Nano 33 BLE, ESP32) or via external modules. This guide explains how to get started using BLE with Arduino, especially for HID-style applications like sending keyboard strokes, mouse movements, or media controls.
1. Choosing the Right Arduino Board
| Board Model | BLE Support | Notes |
|---|---|---|
| Arduino Nano 33 BLE |  Native Native | Uses nRF52840 chipset, full BLE stack |
| ESP32 (various models) | Native | BLE + Wi-Fi, many libraries available |
| Arduino Uno + HM-10 |  Partial Partial | Requires AT commands, no HID mode |
| Arduino Uno + HC-05 |  Classic BT only Classic BT only | No BLE support, not HID capable |
2. BLE HID Use Cases
- Wireless keyboards or keypads
- BLE mouse emulation (scroll, click, move)
- Game controllers
- Media control (play/pause/volume via BLE HID)
BLE HID lets your Arduino act like a Bluetooth keyboard, mouse, or media remote.
3. Required Libraries
For ESP32-based boards:
ESP32 BLE Arduinoby Neil KolbanESP32 BLE Keyboardby T-vKESP32 BLE Mouseby T-vK
For Arduino Nano 33 BLE:
ArduinoBLE(official library)Arduino_HID_BLE_Peripheral(third-party or advanced use)
4. Sample Code: BLE Keyboard (ESP32)
#include <BleKeyboard.h>

BleKeyboard bleKeyboard("MyBLE_Keyboard", "Arduino", 100);

void setup() {
  bleKeyboard.begin();
}

void loop() {
  if (bleKeyboard.isConnected()) {
    bleKeyboard.write('A');
    delay(1000);
  }
}
5. Platform Compatibility
| OS/Device | BLE HID Support | Notes |
|---|---|---|
| Android | Excellent | Instant pairing, supports all modes |
| iOS | Limited | Requires MFi compliance for full HID support |
| Windows | Excellent | Recognizes BLE keyboards/mice easily |
| macOS | Excellent | Good support, easy pairing |
6. Common Pitfalls
- BLE pairing issues: clear previous devices before testing
- BLE modules (like HM-10) don’t support HID: use ESP32/Nano 33 BLE
- iOS may ignore HID input without certified MFi hardware
- Delay too short in loop: use debounce logic or cooldown
7. Tips for Stable Projects
- Use
bleKeyboard.isConnected()orbleMouse.isConnected()before sending - Avoid sending too many packets too quickly (BLE buffer overflows)
- Test with Android first for easier debugging
- Use serial output (
Serial.println()) for state monitoring
Conclusion
Arduino and BLE make a powerful combo for creating wireless input devices. With the right board and library, you can simulate keyboards, mice, and remote controls. ESP32 boards offer the easiest starting point due to strong library support, while Nano 33 BLE provides better native BLE integration. Be mindful of platform quirks, especially with iOS, and take time to test BLE behavior thoroughly.
Once it works, your BLE-enabled Arduino project becomes a magical remote-control wand. Or, in more technical terms: a low-power, low-latency, HID-emitting BLE peripheral device with just the right amount of nerd magic.
 Broadcast the signal — amplify the connection.
 TOP 5 Modules for Arduino Robots
 Let’s start with a simple robotic arm or leg movement using servo motors and an ATtiny85.


 NE555 Timer IC: Overview & Applications
 Music Code on ATtiny
 RTC Chips: A Detailed Overview