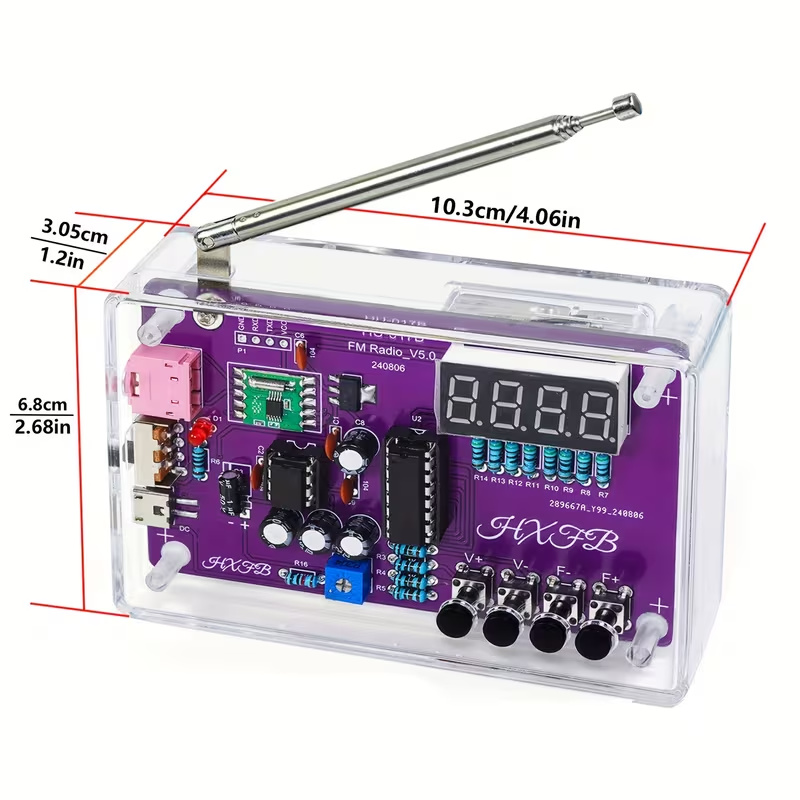
Supplier photo of an assembled radio kit with a purple circuit board, telescopic antenna and clear case.
Supplier photo
Temu affiliate offer · Project idea

Build a radio

Soldering required. Check the supplied parts and board revision.

View kit on Temu

Tricky Circuit may earn a commission through these links. Product ideas have not been bench-tested by Tricky Circuit and are not verified lesson parts lists.

🎵 Music Code on ATtiny


🔍 Key Considerations

  • ✅ Function Availability:
    • The tone() function is available on many ATtiny cores (e.g., ATtiny85) when using the proper Arduino core for ATtiny.
  • ⏱️ Clock Speed Differences:
    • Many ATtiny chips run at lower clock speeds (e.g., 1 MHz or 8 MHz) compared to the standard 16 MHz on an Arduino Uno.
    • This difference may affect timing and the pitch of generated tones. You might need to adjust your code or clock settings (e.g., using the internal PLL or setting fuses) to get accurate frequencies.
  • 🔌 Pin Assignments:
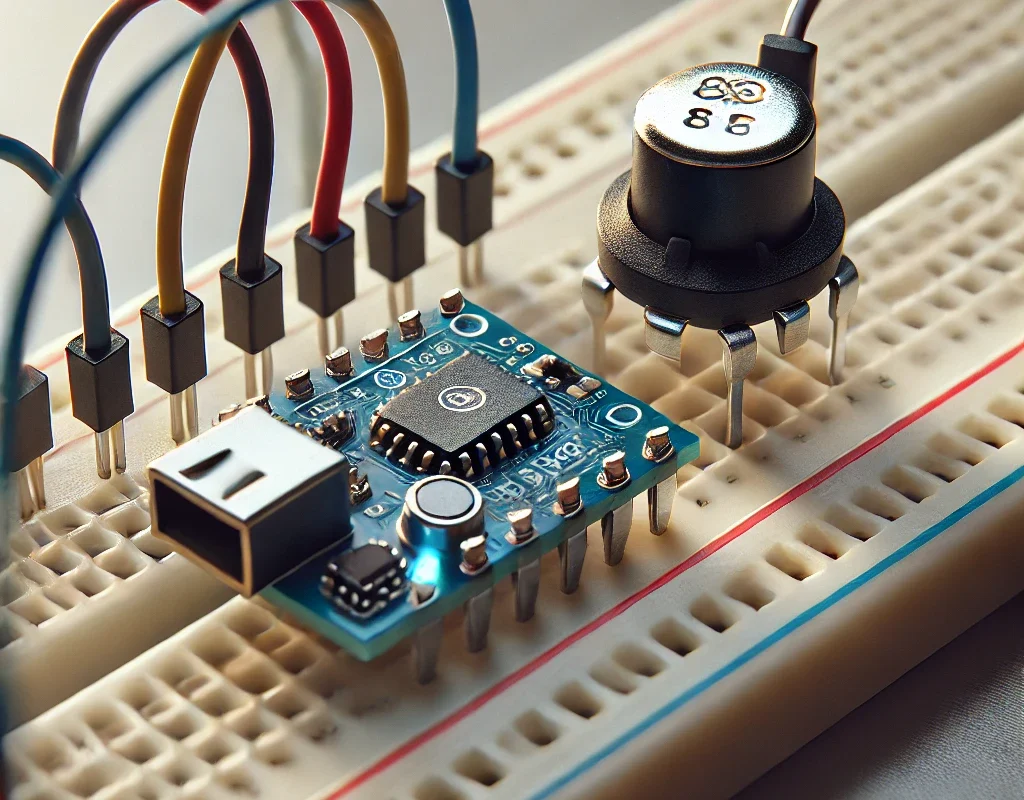
    • Make sure you change the pin definitions to match the ATtiny’s available pins.
    • The code example using a piezo buzzer on pin 8 (for example) may need adjustment according to your ATtiny board configuration.
  • 💾 Memory Constraints:
    • ATtiny devices have much less memory than an Arduino Uno, so simpler code (like using tone() without heavy libraries) is ideal.
    • If you’re using external modules (like DFPlayer Mini), ensure the necessary libraries are compatible and fit within the limited memory.

🎯 Conclusion

Yes, the code for playing music (using the tone() function) can work on many ATtiny chips (such as the ATtiny85), but you may need to:

  • Adjust the clock speed or be mindful of lower speeds.
  • Change pin assignments to match the ATtiny hardware.
  • Simplify your code to fit within the ATtiny’s memory limits.

If you encounter issues, verify that you’re using an ATtiny core that supports the functions you need, and double-check your wiring and code settings.

Happy tinkering and music making on your ATtiny! 😊🎶👍
📡Broadcast the signal — amplify the connection.

Leave a Reply

Temu affiliate offers

Find your next electronics project

Explore these do-it-yourself project kits. Check the selected option, included parts and instructions on each offer.

Tricky Circuit may earn a commission if you buy through these Temu affiliate links. These are product ideas; they have not been bench-tested by Tricky Circuit and are not verified lesson parts lists.

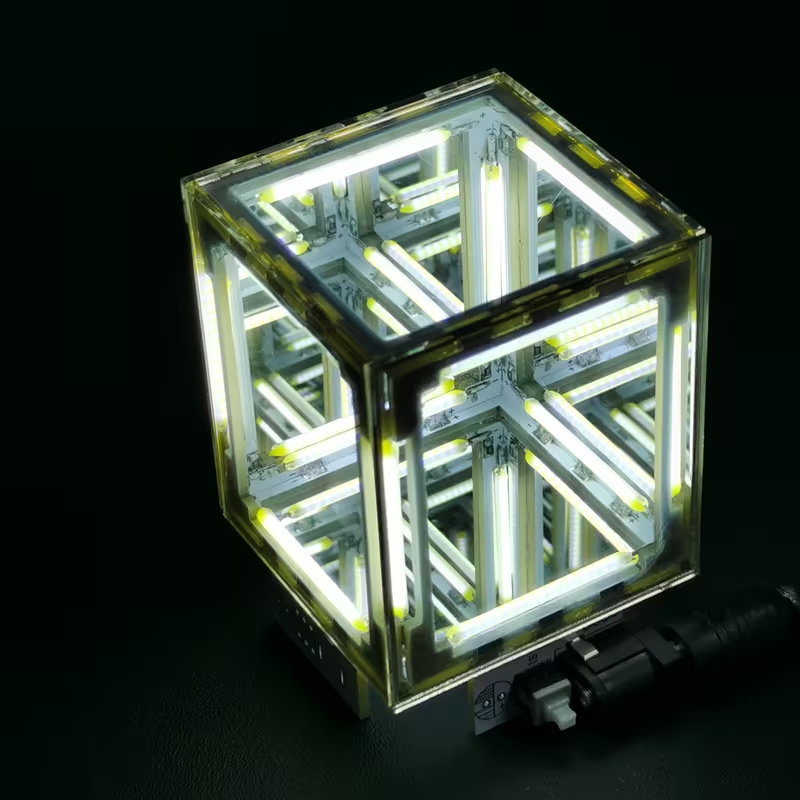
Supplier photo of an assembled infinity mirror light cube illuminated on a dark background.

Supplier product photo

Build an infinity light cube

Listing specifies 5-volt direct current. Soldering required; battery and glue not included.

View kit on Temu

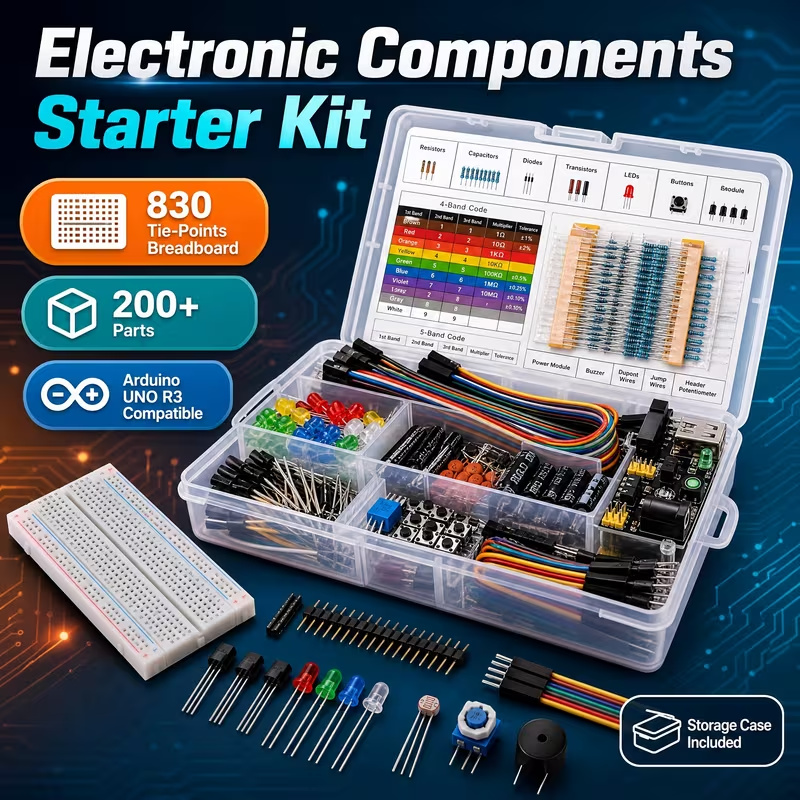
Supplier photo of a breadboard, jumper wires and assorted electronic components in a plastic storage case.

Supplier product photo

Try breadboard experiments

Breadboard, wires and assorted parts. Arduino controller board not included.

View kit on Temu

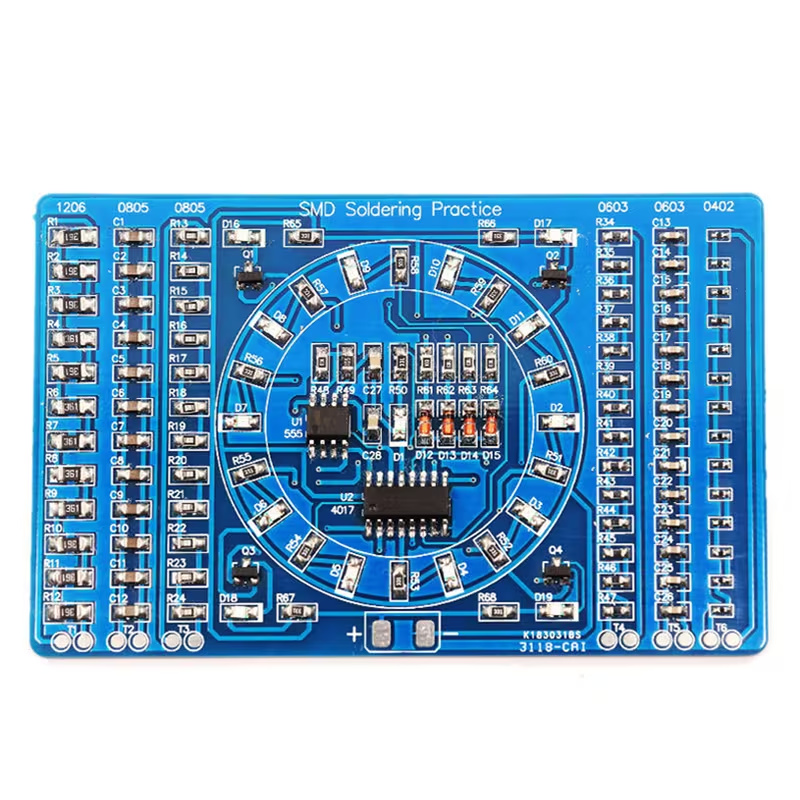
Supplier photo of an assembled blue surface-mount soldering practice board with a circular ring of small lights.

Supplier product photo

Solder a chasing-light board

Surface-mount soldering practice. Battery and battery holder not included.

View kit on Temu