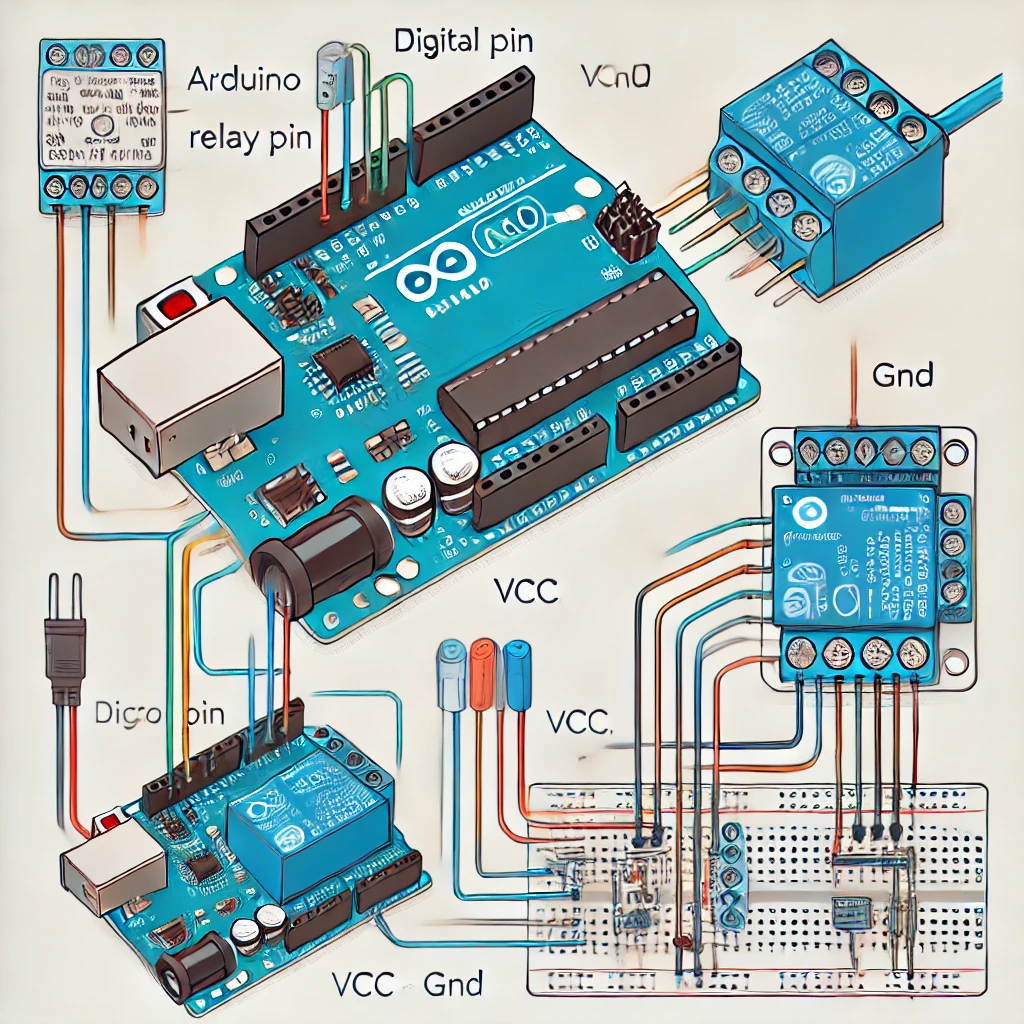
Understanding the functionality of digital vs. analog pins and the nature of button signals can help in choosing the right type of pin for buttons in Arduino projects.
Digital Nature of Buttons
- Binary Signal: 🔄 Buttons provide a binary output—either ON (pressed) or OFF (unpressed), corresponding to digital signal states HIGH or LOW.
- Simple Logic Matching: 🔗 Digital pins are designed to detect and work with these two states efficiently, making them an ideal choice for reading button inputs.
Pin Functionality
Digital Pins
- Designed for Binary Inputs: 🚥 Can read two distinct states (HIGH or LOW), which aligns perfectly with the digital output of buttons.
- Optimal for Button Inputs: ✅ Using digital pins for buttons ensures that the system is using resources efficiently—digital reads are faster and less complex in code.
Analog Pins
- Intended for Variable Inputs: 🌈 Capable of reading a range of values (0-1023 on a standard Arduino), which is necessary for sensors that output a spectrum of data like temperature or light sensors.
- Overqualified for Buttons: ⚠️ Using an analog pin to read a digital signal like a button press is technically possible but inefficient—it uses more resources and processing power than necessary.
Coding Simplicity
- Digital Reads are Straightforward: 📖 Using
digitalRead()is simple and involves minimal computational overhead, making it suitable for applications that require quick response and multiple input readings. - Analog Reads are More Complex: 🔧
analogRead()involves converting an analog signal to a digital value, which is unnecessary for buttons and adds complexity to the code.
Resource Optimization
- Efficient Use of Pins: 🎯 By using digital pins for buttons, analog pins are left available for other sensors and inputs that require them, optimizing the use of Arduino’s resources.
Example
int buttonPin = 2; // Digital pin for button
void setup() {
    pinMode(buttonPin, INPUT);
}

void loop() {
    int buttonState = digitalRead(buttonPin);
    if(buttonState == HIGH) {
        // Button is pressed
    } else {
        // Button is not pressed
    }
}
This structured approach with icons 🌟 maximizes the Arduino’s functionality and ensures that each pin type is used for its intended purpose. It simplifies coding and improves the efficiency and performance of your projects.


