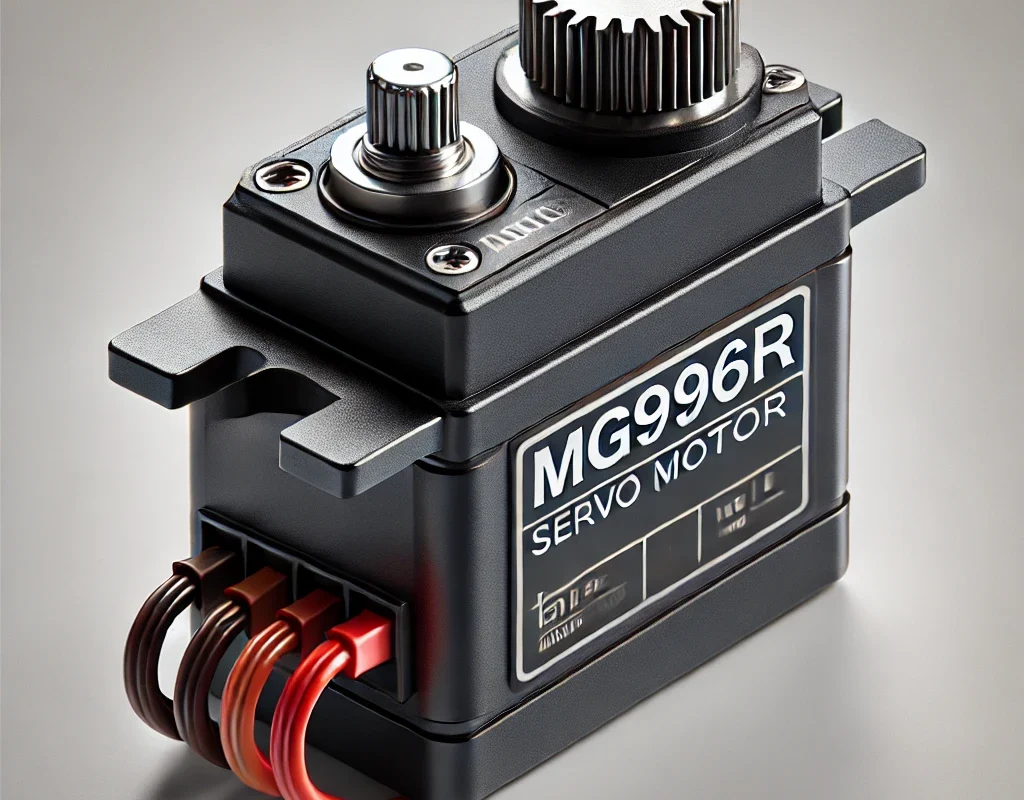
📌 Key Specs:
- Type: Servo motor
- Rotation Angle: ~180° (can go a bit over)
- Operating Voltage: 4.8V – 7.2V
- Torque:
- Up to 11 kg/cm at 6V 💪 - Speed: ~0.2 sec/60° at 6V
- Control: PWM (Pulse Width Modulation)
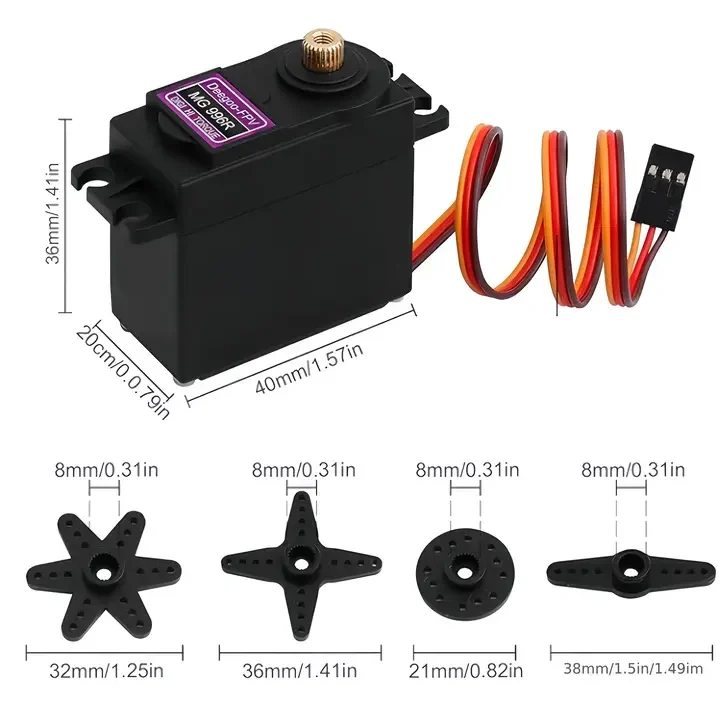
🧃 Wiring:
- Red: VCC (+ power)
- Brown or Black: GND
- Orange or Yellow: Signal (PWM control)
🟦 Controlling MG996R with Arduino
🔌 Wiring:
- Signal (orange) → Arduino D9
- VCC (red) → External 5V–6V power source
- GND (brown) → Connect to both Arduino GND and external power GND
🧾 Arduino Code:
#include <Servo.h>

Servo myServo;

void setup() {
  myServo.attach(9); // Signal pin
}

void loop() {
  myServo.write(0);     // Rotate to 0°
  delay(1000);
  myServo.write(90);    // Rotate to 90°
  delay(1000);
  myServo.write(180);   // Rotate to 180°
  delay(1000);
}
🟩 Controlling MG996R with ESP32
ESP32 needs a special library: ESP32Servo
Install via: Sketch → Include Library → Manage Libraries → Search “ESP32Servo”
🔌 Wiring:
- Signal → Any PWM-capable pin (e.g. GPIO 18)
- VCC → External 5V–6V power source
- GND → Common ground between ESP32 and power supply
🧾 ESP32 Code:
#include <ESP32Servo.h>

Servo myServo;

void setup() {
  myServo.setPeriodHertz(50); // 50Hz for MG996R
  myServo.attach(18);         // Signal pin (e.g. GPIO18)
}

void loop() {
  myServo.write(0);
  delay(1000);
  myServo.write(90);
  delay(1000);
  myServo.write(180);
  delay(1000);
}
⚠️ Pro Tips:
- 🔋 MG996R is powerful — use an external power source (not just from Arduino or ESP32).
- 🧯 Limit movement between 10° to 170° to avoid servo stress at the ends.
- 💥 Be cautious when using with 3.3V logic (ESP32 is okay, but use resistors if needed).