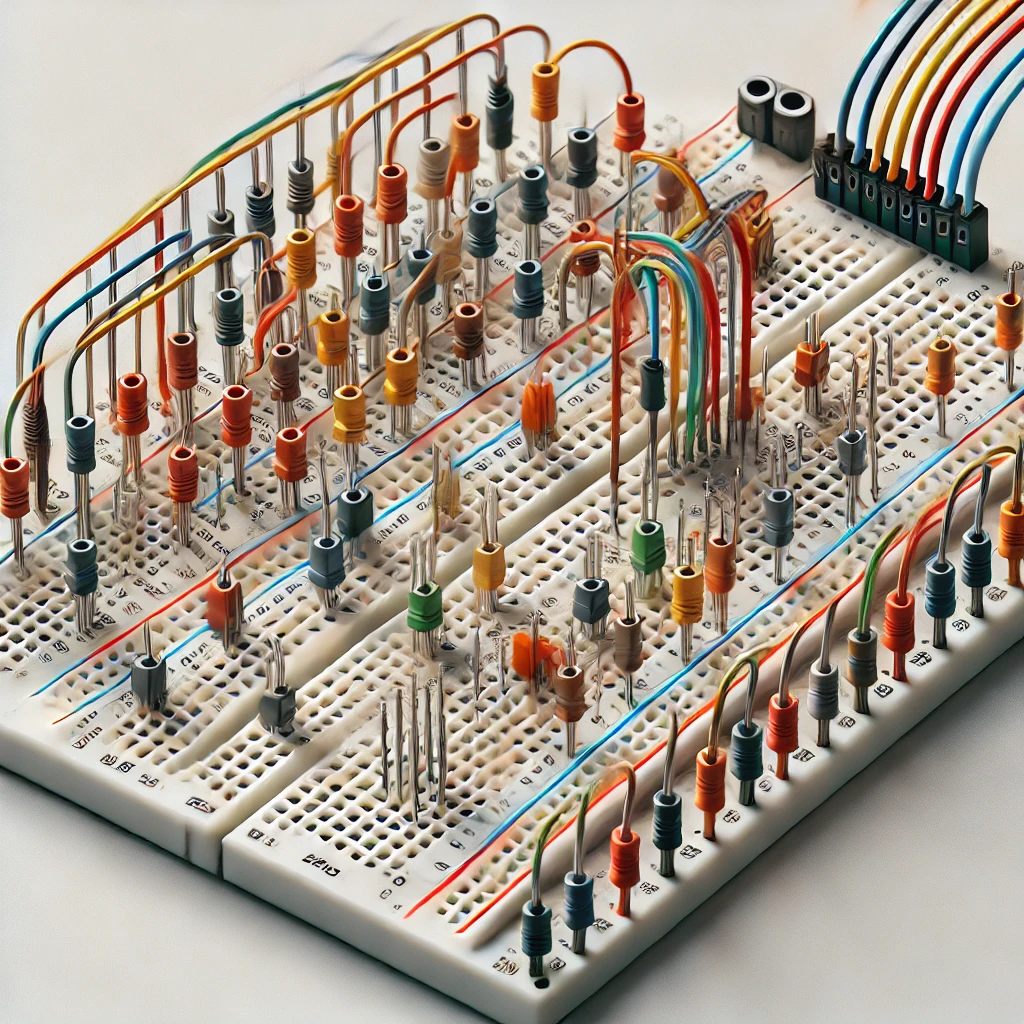
🔌 Jumper Wires: Overview
📜 Overview 🚀 History & Evolution 🔧 Applications of Jumper Wires 📐 Types of Jumper Wires 🎯 Key Features & Tips 🔚 Conclusion Jumper wires …
Unravel the Mystery of Electronics

📜 Overview 🚀 History & Evolution 🔧 Applications of Jumper Wires 📐 Types of Jumper Wires 🎯 Key Features & Tips 🔚 Conclusion Jumper wires …
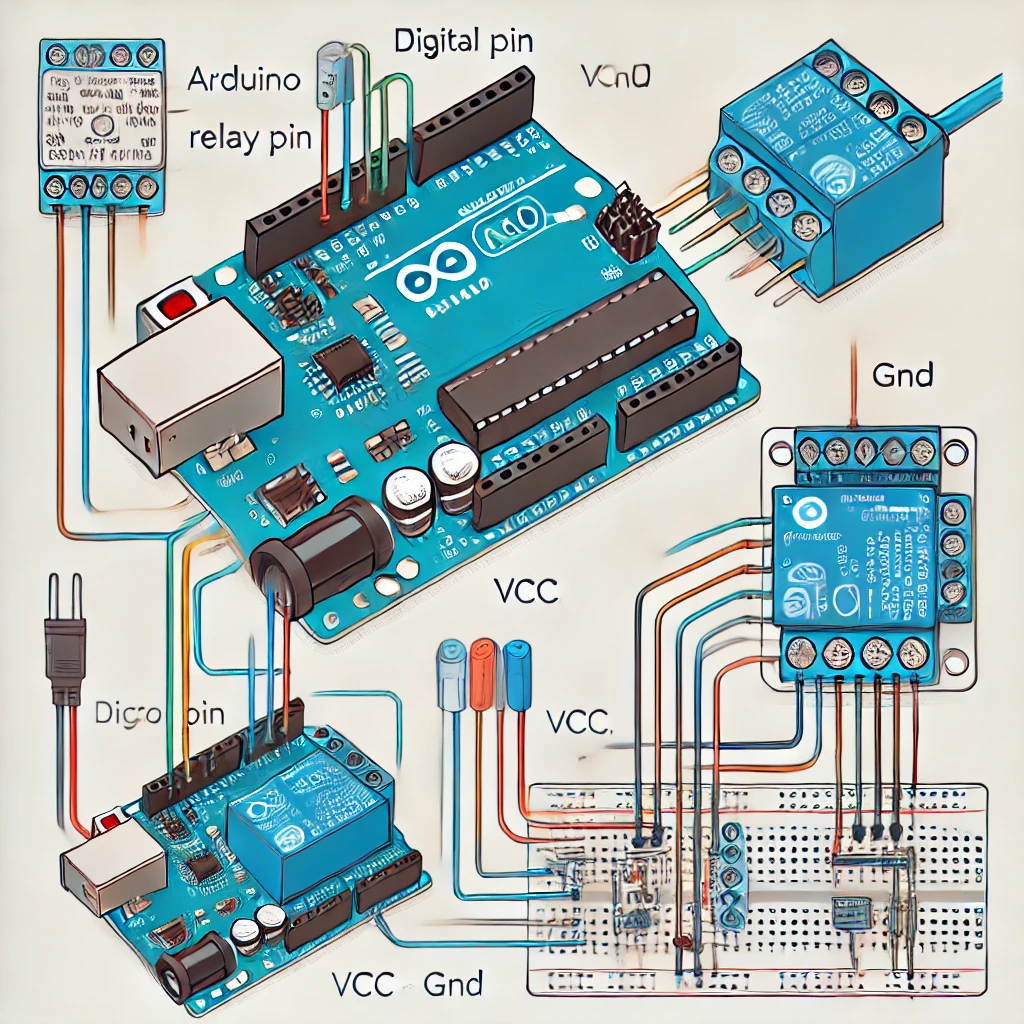
Materials Needed: 💡 Wiring Diagram: 📟 Control Code: ⚠️ Important Notes:
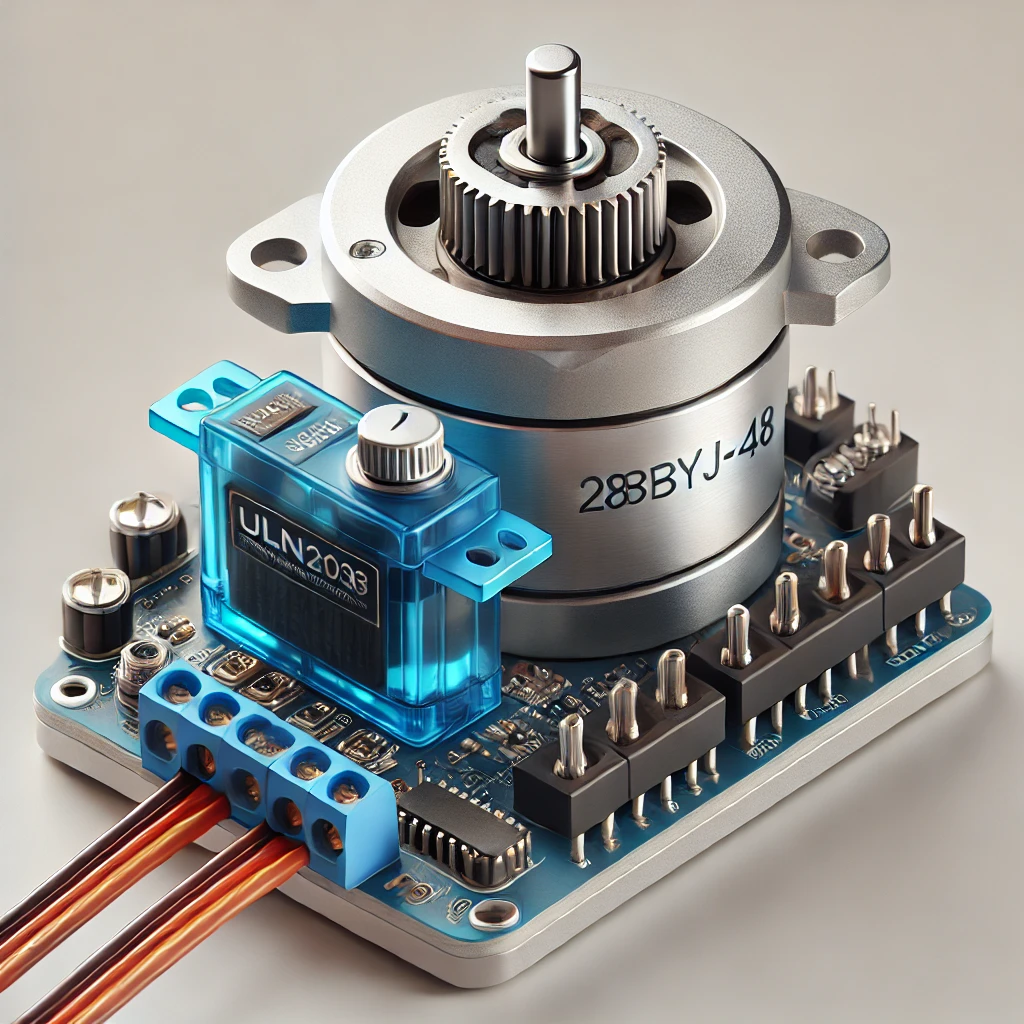
🔹 SG90 Servo vs. 28BYJ-48 Stepper: Side-by-Side Comparison Feature SG90 Servo 28BYJ-48 Stepper Type Servo Motor (Position Control) Stepper Motor (Precise Step Control) Movement Rotates …
🔧 Components Needed 📌 Wiring Diagram 1. Servo Connection (SG90) 2. Potentiometer Connection 3. Button Connections Tip: Use the Arduino’s internal pull-up resistors for the …
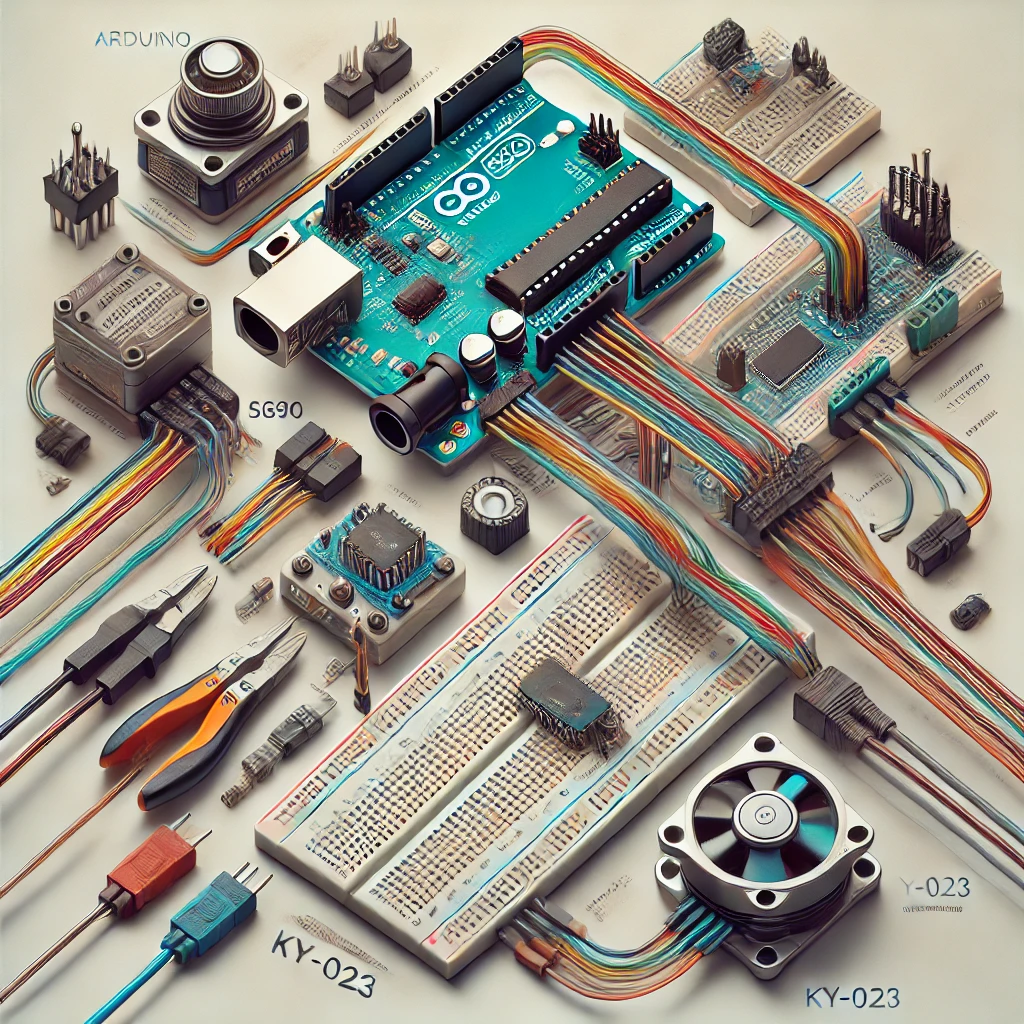
🔹 Components Needed ✅ Arduino (Uno/Nano/etc.)✅ SG90 Servo Motor✅ Joystick Module (XY type, like KY-023)✅ Jumper Wires & Breadboard 🔹 Understanding the Joystick The joystick …
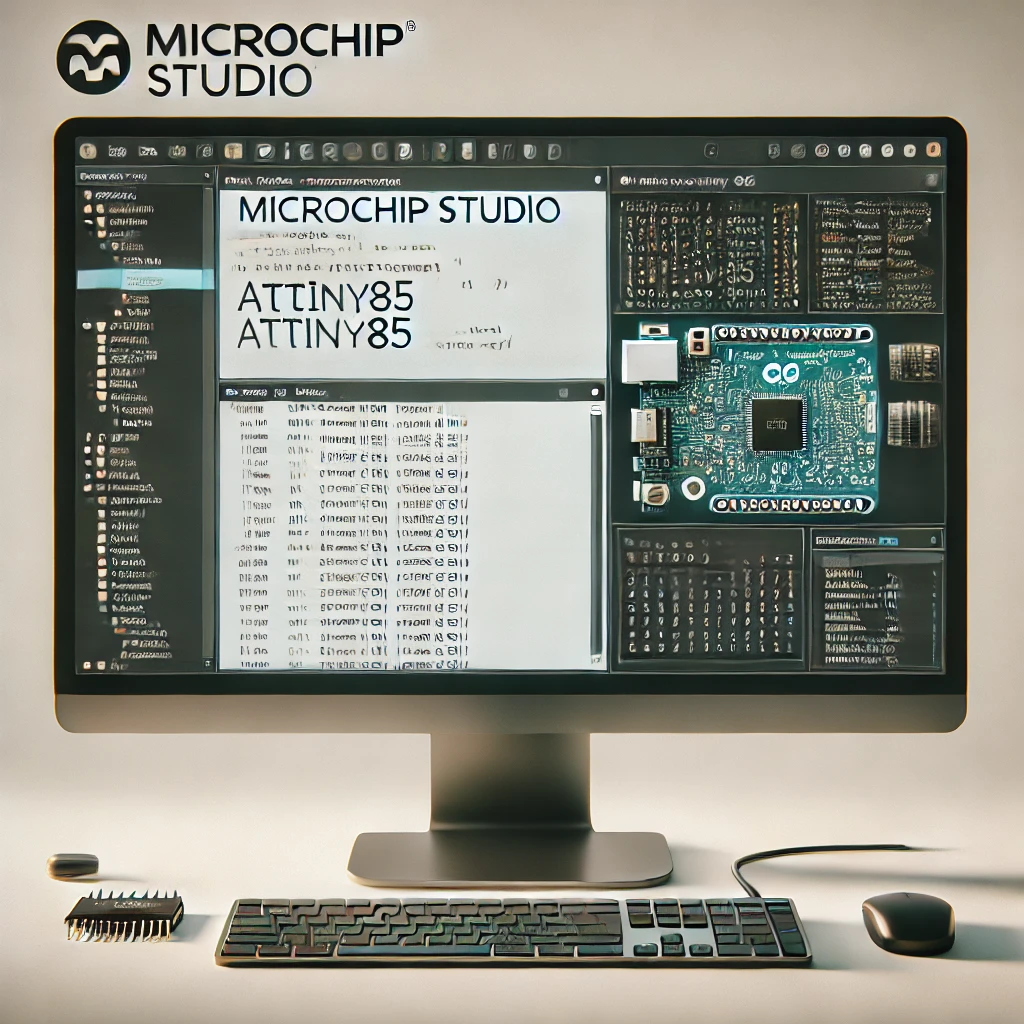
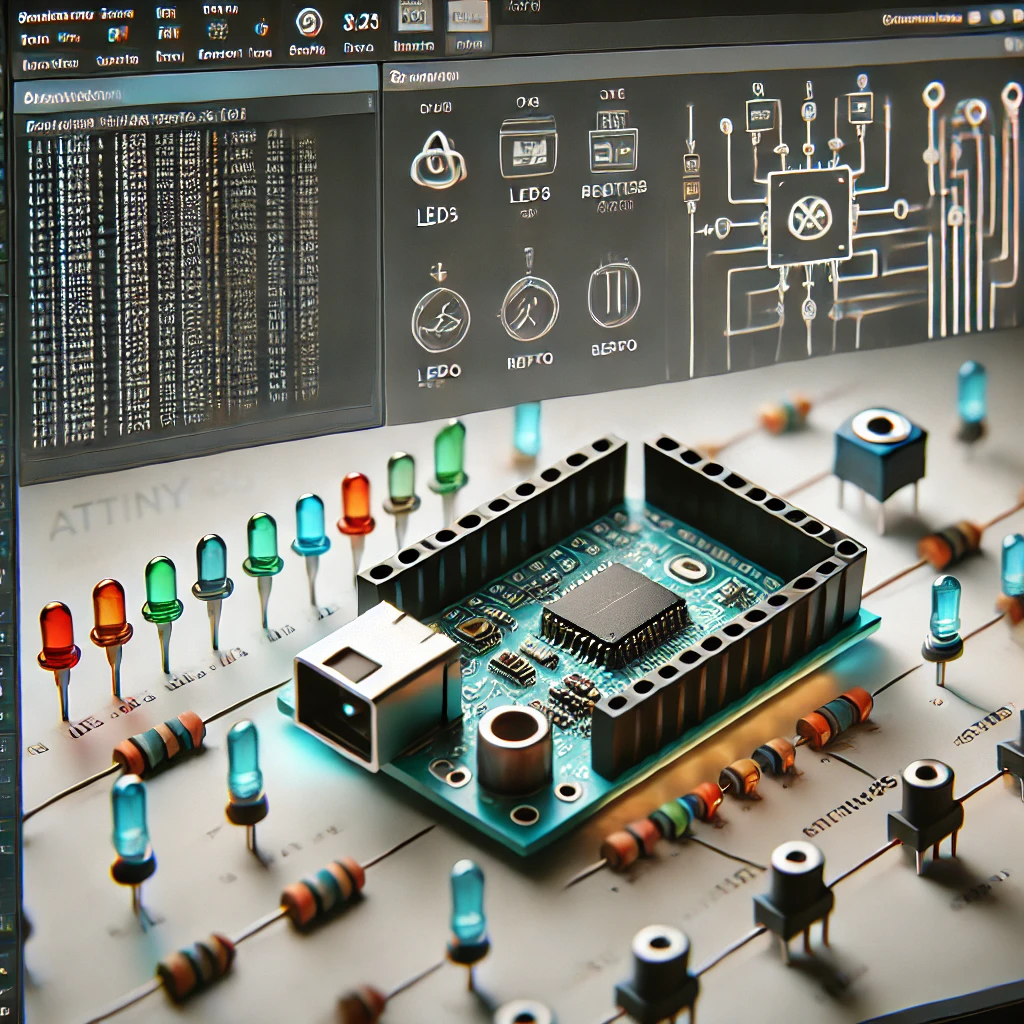
🔍 Overview ⚙️ Key Features 🔍 Why Use Microchip Studio? 🚀 Getting Started with Microchip Studio 💡 Conclusion Microchip Studio is a powerful, professional-grade IDE …
1️⃣ Tinkercad Circuits 2️⃣ Proteus Design Suite 3️⃣ SimulIDE 4️⃣ Atmel Studio (Microchip Studio) 5️⃣ Virtual Breadboard (VBB) 🎯 Final Thoughts Each of these tools …
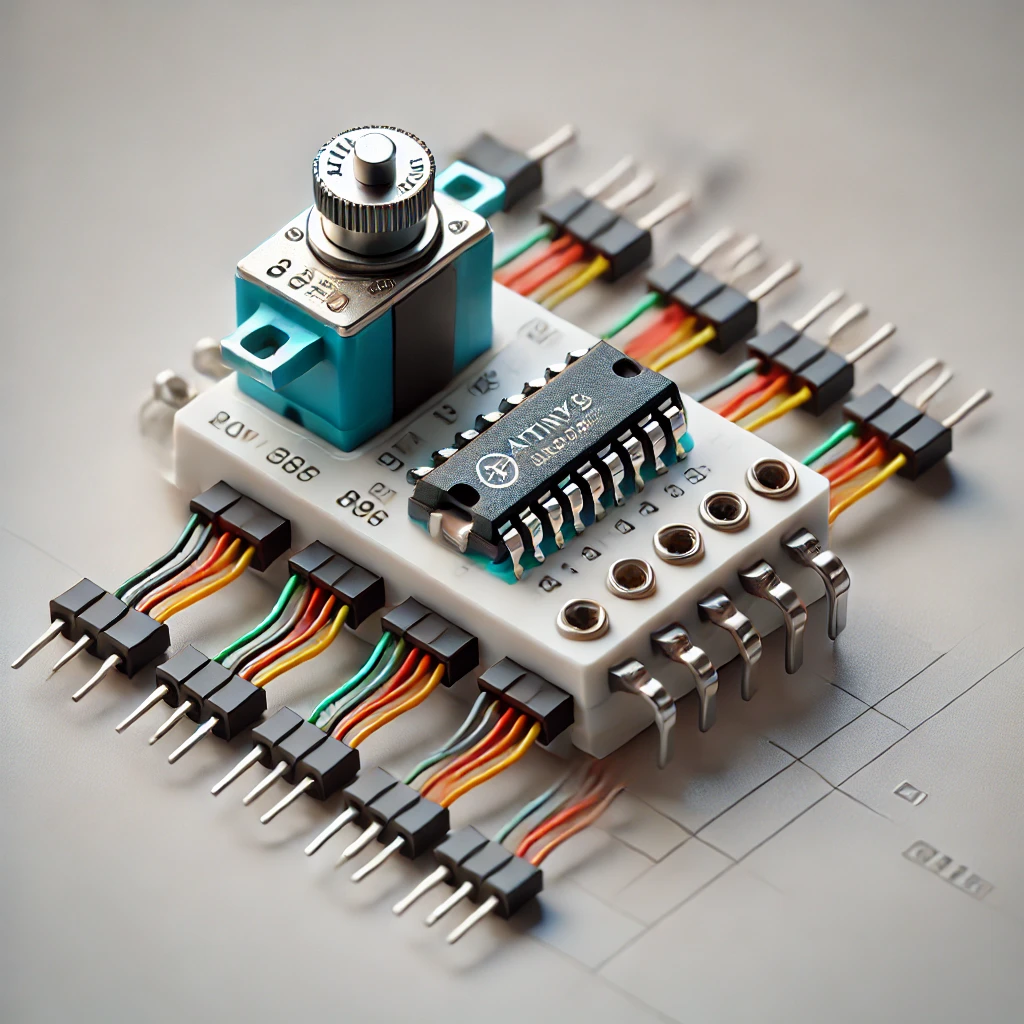
🔹 Step 1: Components Needed ✅ Microcontroller – ATtiny85✅ Servo Motor – SG90 (small) or MG996R (stronger)✅ Power Supply – 5V (for servos)✅ Potentiometer (optional) …
1️⃣ Connect Your Arduino 2️⃣ Open the Arduino IDE 3️⃣ Select the Correct Board 4️⃣ Select the Correct Port 5️⃣ Verify (Compile) Your Code 6️⃣ …
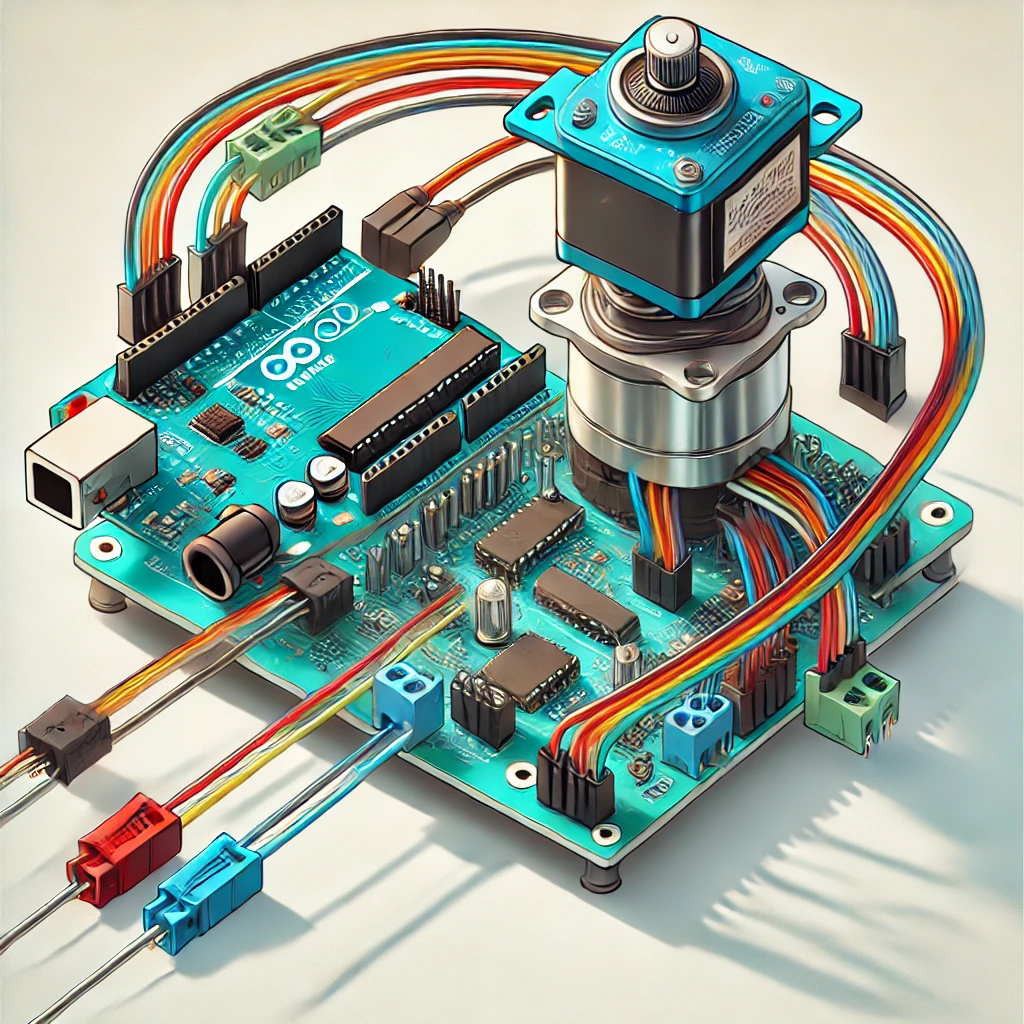
🔹 Step 1: Components Needed ✅ Microcontroller – Arduino Nano/Uno✅ Servo Motor – SG90 (small) or MG996R (stronger)✅ Power Supply – 5V (for servos)✅ Potentiometer …