🔹 Components Needed
✅ Arduino (Uno/Nano/etc.)
✅ SG90 Servo Motor
✅ 10kΩ Potentiometer
✅ Jumper Wires & Breadboard
🔹 Circuit Connections
| Component | Pin | Connect To |
|---|---|---|
| SG90 Servo | Red (VCC) | 5V |
| Brown (GND) | GND | |
| Orange (Signal) | Pin 9 (PWM) | |
| Potentiometer | Left Pin | GND |
| Middle Pin | A0 (Analog Input) | |
| Right Pin | 5V |

🔹 Arduino Code (Servo Control with Potentiometer)
#include <Servo.h>

Servo myServo;  // Create servo object
int potPin = A0;  // Potentiometer connected to A0
int potValue;     // Variable to store potentiometer value

void setup() {
    myServo.attach(9);  // Servo signal wire connected to Pin 9
}

void loop() {
    potValue = analogRead(potPin);  // Read potentiometer value (0-1023)
    int angle = map(potValue, 0, 1023, 0, 180);  // Convert to 0-180°

    myServo.write(angle);  // Move servo to mapped angle
    delay(15);  // Small delay for smooth movement
}
🔹 Steps to Run the Code
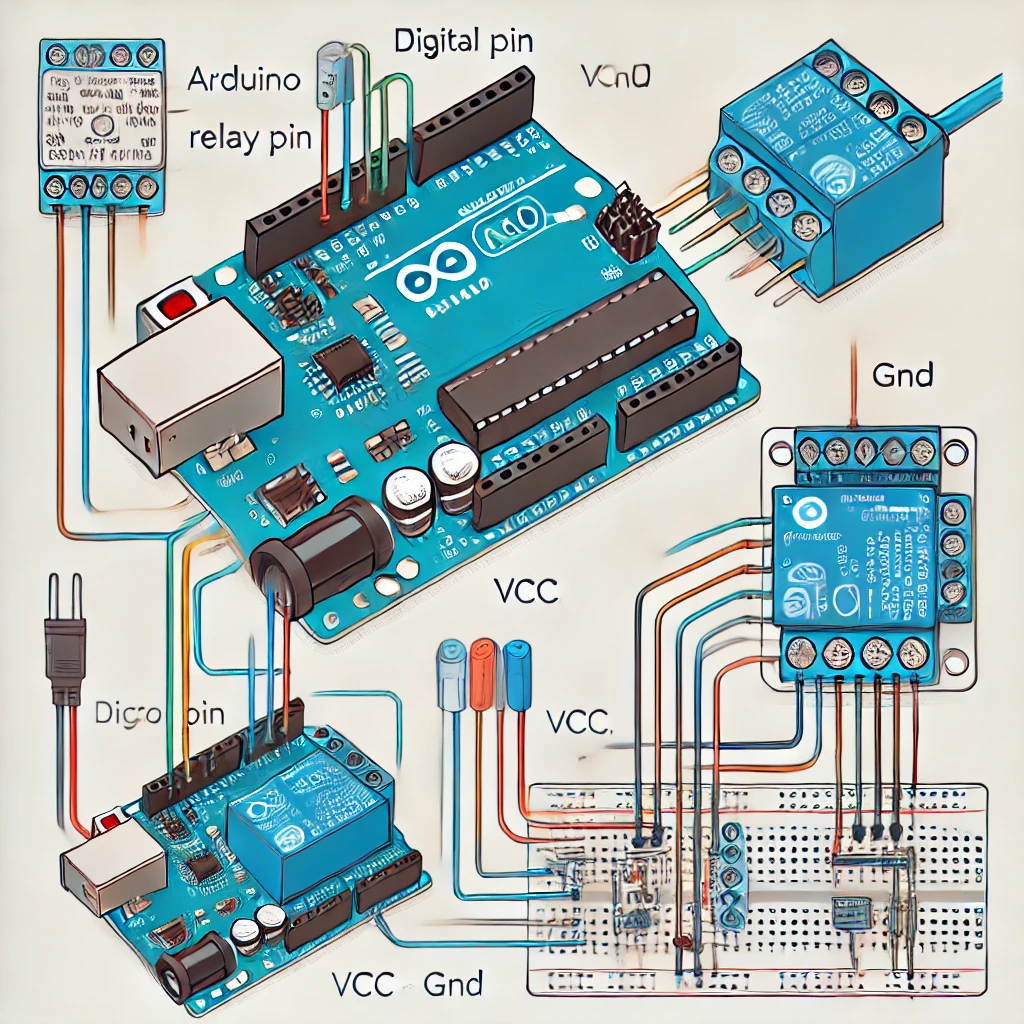
1️⃣ Connect everything as per the circuit diagram.
2️⃣ Upload the code to your Arduino.
3️⃣ Turn the potentiometer and watch the servo move smoothly! 🎛️🤖