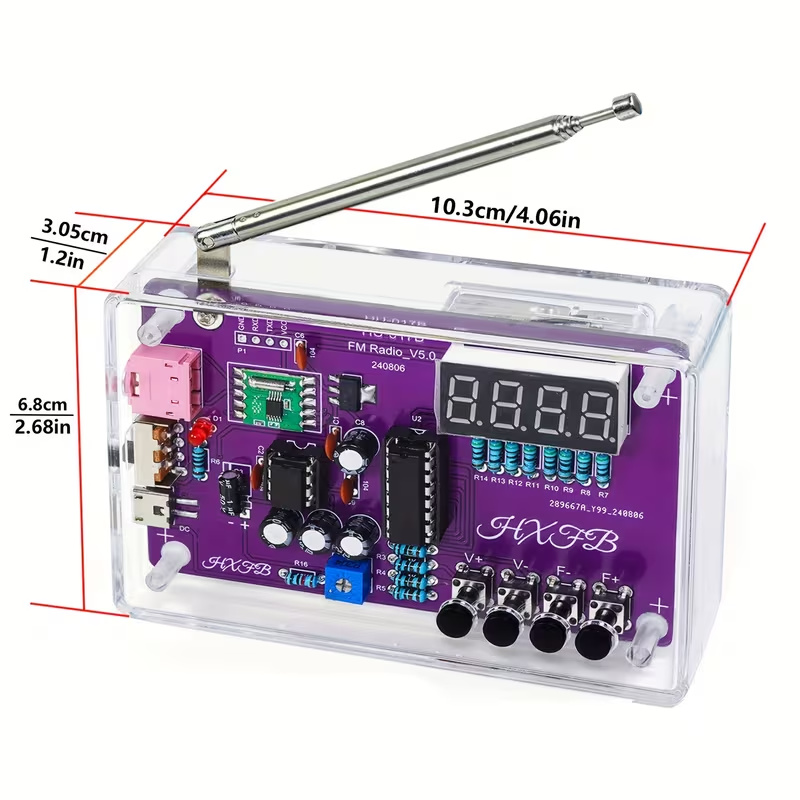
Supplier photo of an assembled radio kit with a purple circuit board, telescopic antenna and clear case.
Supplier photo
Temu affiliate offer ยท Project idea

Build a radio

Soldering required. Check the supplied parts and board revision.

View kit on Temu

Tricky Circuit may earn a commission through these links. Product ideas have not been bench-tested by Tricky Circuit and are not verified lesson parts lists.

๐ŸŽฎ๐Ÿ”ฅ Controlling your SG90 servo with a joystick will feel like operating a mini robotic arm! Let’s get started.


๐Ÿ”น Components Needed

โœ… Arduino (Uno/Nano/etc.)
โœ… SG90 Servo Motor
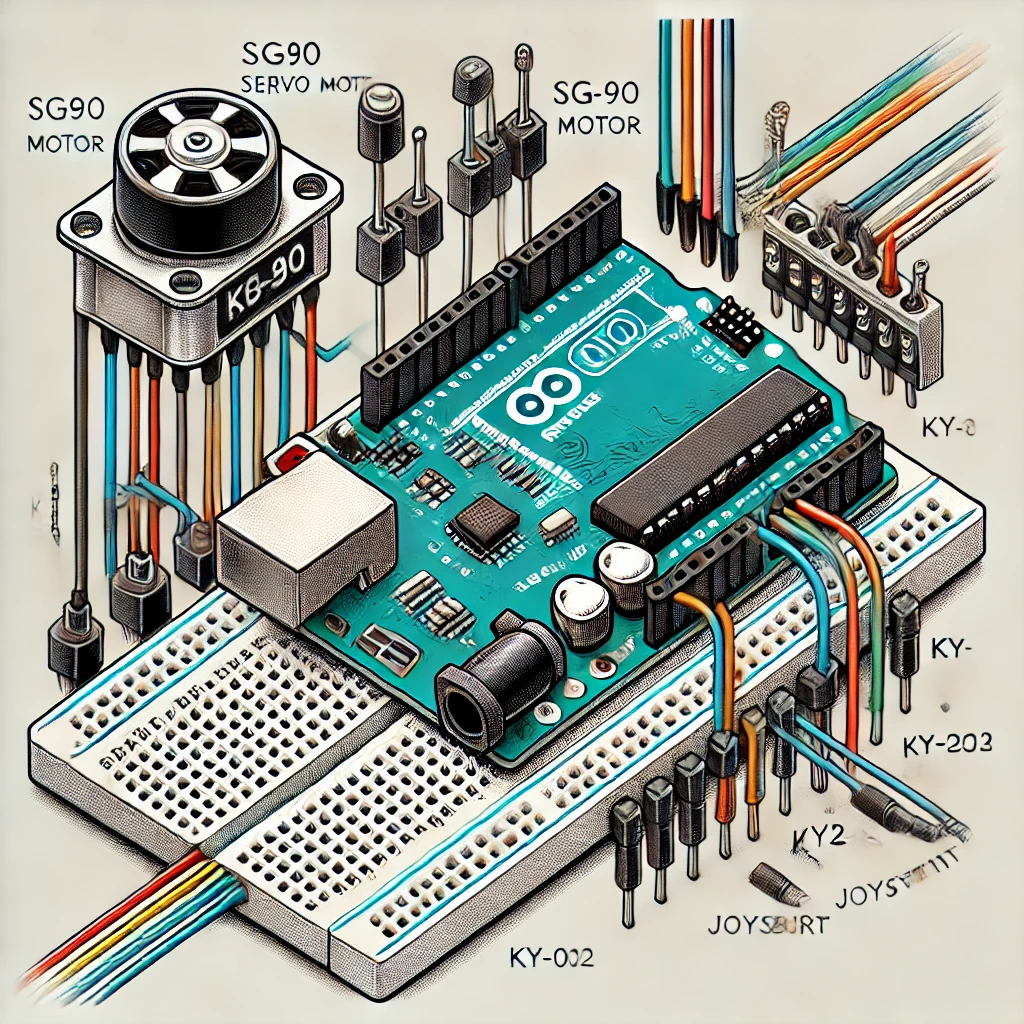
โœ… Joystick Module (XY type, like KY-023)
โœ… Jumper Wires & Breadboard


๐Ÿ”น Understanding the Joystick

The joystick has two potentiometers (X & Y) and a push button:

  • VRX (X-axis): Analog signal (A0)
  • VRY (Y-axis): Analog signal (A1)
  • SW (Button): Digital signal (D2, optional)
  • VCC & GND: Power

For this setup, weโ€™ll control the servo using the X-axis (left/right movement).


๐Ÿ”น Circuit Connections

Joystick PinArduino PinServo Pin
VCC5V5V
GNDGNDGND
VRX (X-axis)A0โ€”
VRY (Y-axis)A1 (optional)โ€”
SW (Button)D2 (optional)โ€”
โ€”โ€”Pin 9 (Servo Signal)

๐Ÿ”น Arduino Code (Joystick-Controlled Servo)

#include <Servo.h>

Servo myServo;
int joyX = A0;  // Joystick X-axis connected to A0
int xValue;      // Variable to store joystick reading

void setup() {
    myServo.attach(9);  // Servo on Pin 9
}

void loop() {
    xValue = analogRead(joyX);  // Read joystick X-axis (0-1023)
    int angle = map(xValue, 0, 1023, 0, 180);  // Convert to 0-180ยฐ
    
    myServo.write(angle);  // Move servo to the corresponding angle
    delay(15);  // Small delay for smooth movement
}

๐Ÿ”น How to Test It?

1๏ธโƒฃ Wire up the circuit as shown.
2๏ธโƒฃ Upload the code to your Arduino.
3๏ธโƒฃ Move the joystick left & right โ†’ The servo should move accordingly! ๐ŸŽฎ๐Ÿค–


๐Ÿ”น Whatโ€™s Next?

๐Ÿ”ฅ Add Y-axis โ†’ Control two servos (X for one, Y for another).
๐Ÿ”ฅ Use the button โ†’ Make it reset the servo to center (90ยฐ).
๐Ÿ”ฅ Upgrade to a robotic arm โ†’ Control servo-based grippers or a full arm!
๐Ÿ“กBroadcast the signal โ€” amplify the connection.

Leave a Reply

Temu affiliate offers

Find your next electronics project

Explore these do-it-yourself project kits. Check the selected option, included parts and instructions on each offer.

Tricky Circuit may earn a commission if you buy through these Temu affiliate links. These are product ideas; they have not been bench-tested by Tricky Circuit and are not verified lesson parts lists.

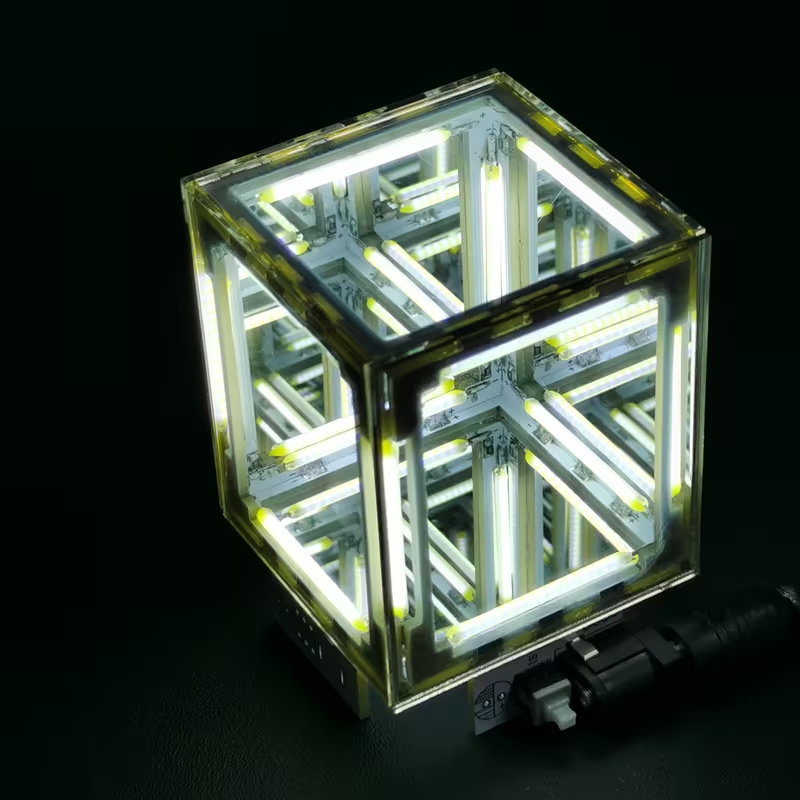
Supplier photo of an assembled infinity mirror light cube illuminated on a dark background.

Supplier product photo

Build an infinity light cube

Listing specifies 5-volt direct current. Soldering required; battery and glue not included.

View kit on Temu

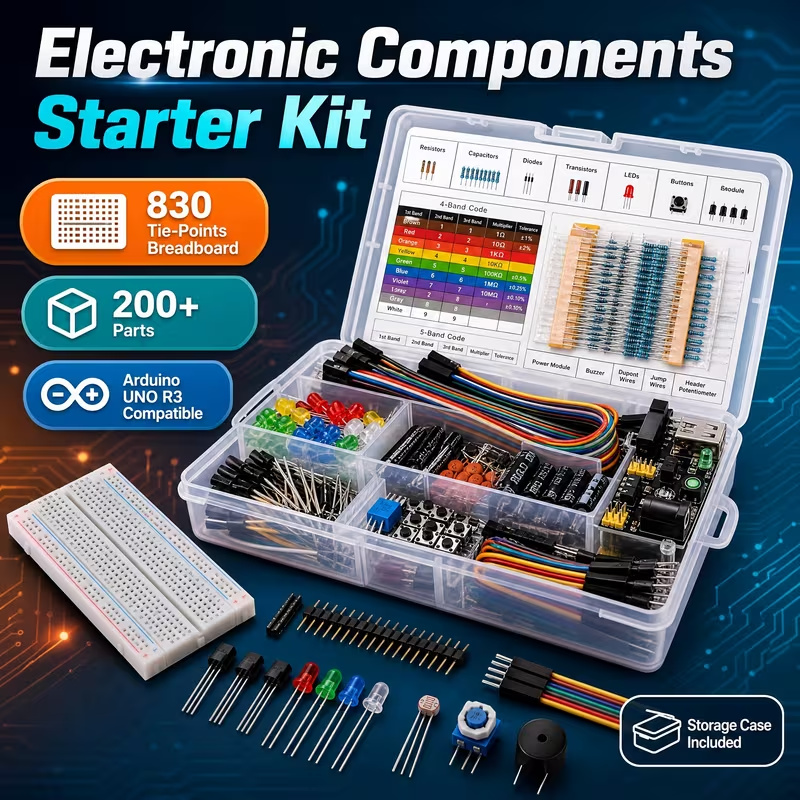
Supplier photo of a breadboard, jumper wires and assorted electronic components in a plastic storage case.

Supplier product photo

Try breadboard experiments

Breadboard, wires and assorted parts. Arduino controller board not included.

View kit on Temu

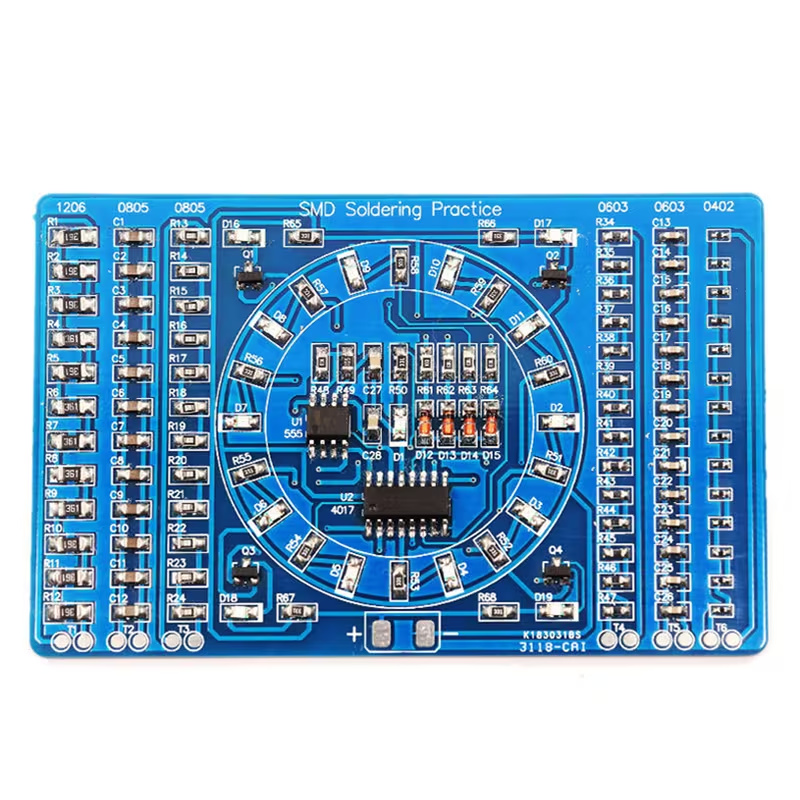
Supplier photo of an assembled blue surface-mount soldering practice board with a circular ring of small lights.

Supplier product photo

Solder a chasing-light board

Surface-mount soldering practice. Battery and battery holder not included.

View kit on Temu