🔍 Overview
Yes, you can absolutely play music on an Arduino! There are several approaches depending on your project needs and hardware:
- Using a Piezo Buzzer or Speaker:
- You can generate tones and melodies with the built-in tone() function.
- Using a Music Playback Module:
- Modules like the DFPlayer Mini can play MP3 files from an SD card.
- Advanced Sound Synthesis:
- Libraries like Mozzi let you create complex sounds and even generate synthesized music.
- PWM-Based Audio:
- You can use Pulse Width Modulation (PWM) to drive a speaker and produce sound.
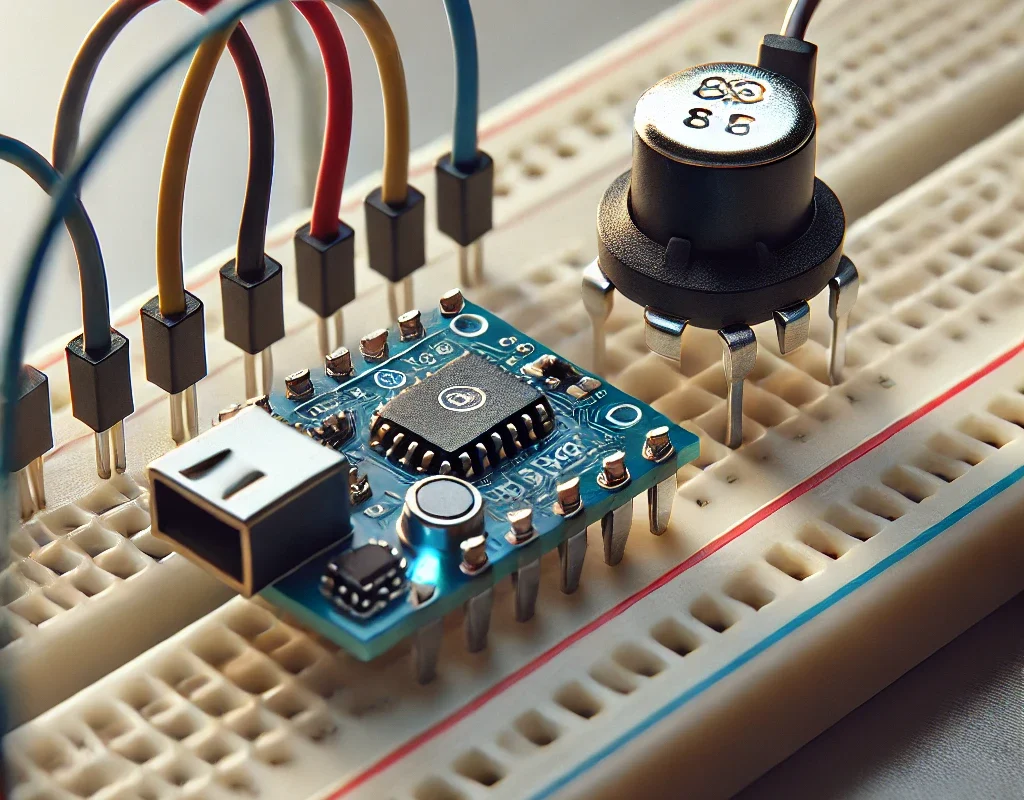
💡 Method 1: Playing Music with a Piezo Buzzer
What You Need:
- Arduino Board (Uno, R4, etc.)
- Piezo Buzzer or Small Speaker
- Connecting Wires
How It Works:
- The tone() function generates square waves at specified frequencies, which create musical notes.
- By sequencing notes with varying durations, you can play melodies.
📋 Example Code: Simple Melody
int buzzerPin = 8; // Connect your piezo buzzer to digital pin 8

// Define a simple melody (frequencies in Hertz)
int melody[] = {262, 294, 330, 349, 392, 440, 494, 523}; // C major scale

// Note durations: 4 = quarter note, etc.
int noteDurations[] = {4, 4, 4, 4, 4, 4, 4, 4};

void setup() {
  // Play the melody once in setup
  for (int thisNote = 0; thisNote < 8; thisNote++) {
    int noteDuration = 1000 / noteDurations[thisNote];
    tone(buzzerPin, melody[thisNote], noteDuration);
    // Calculate a pause between notes; add 30% more time to distinguish notes
    int pauseBetweenNotes = noteDuration * 1.30;
    delay(pauseBetweenNotes);
    noTone(buzzerPin);
  }
}

void loop() {
  // Optionally, you could repeat the melody or add more music here
}
💡 Method 2: Using a DFPlayer Mini for MP3 Playback
What You Need:
- Arduino Board
- DFPlayer Mini Module
- Micro SD Card (loaded with MP3 files)
- Speaker
- Connecting Wires
How It Works:
- The DFPlayer Mini plays MP3 files directly from the SD card.
- It communicates with Arduino via serial commands, making it easy to integrate into your projects.
Key Points:
- This method allows you to play complex sounds, music tracks, or even voice recordings.
- It’s ideal for projects that need high-quality audio without synthesizing tones.
💡 Method 3: Advanced Sound with Mozzi Library
What You Need:
- Arduino Board
- Speaker or Piezo Buzzer
- Additional Components (e.g., amplifiers) if needed
How It Works:
- The Mozzi library enables real-time sound synthesis on Arduino.
- It offers more control and can produce richer audio than the simple tone() function.
Key Points:
- Best suited for projects that require dynamic audio generation, such as sound effects in games.
- It might require more processing power and careful tuning of your code.
🎯 Conclusion
Arduino is quite versatile when it comes to generating music or sound:
- For simplicity: Use a piezo buzzer with the tone() function to play simple melodies.
- For quality playback: Consider a DFPlayer Mini module for playing MP3 files.
- For creativity: Explore advanced libraries like Mozzi to synthesize your own sounds.
Each method has its advantages depending on your project’s needs. Happy coding, and enjoy making some music with your Arduino! 😊🎶👍