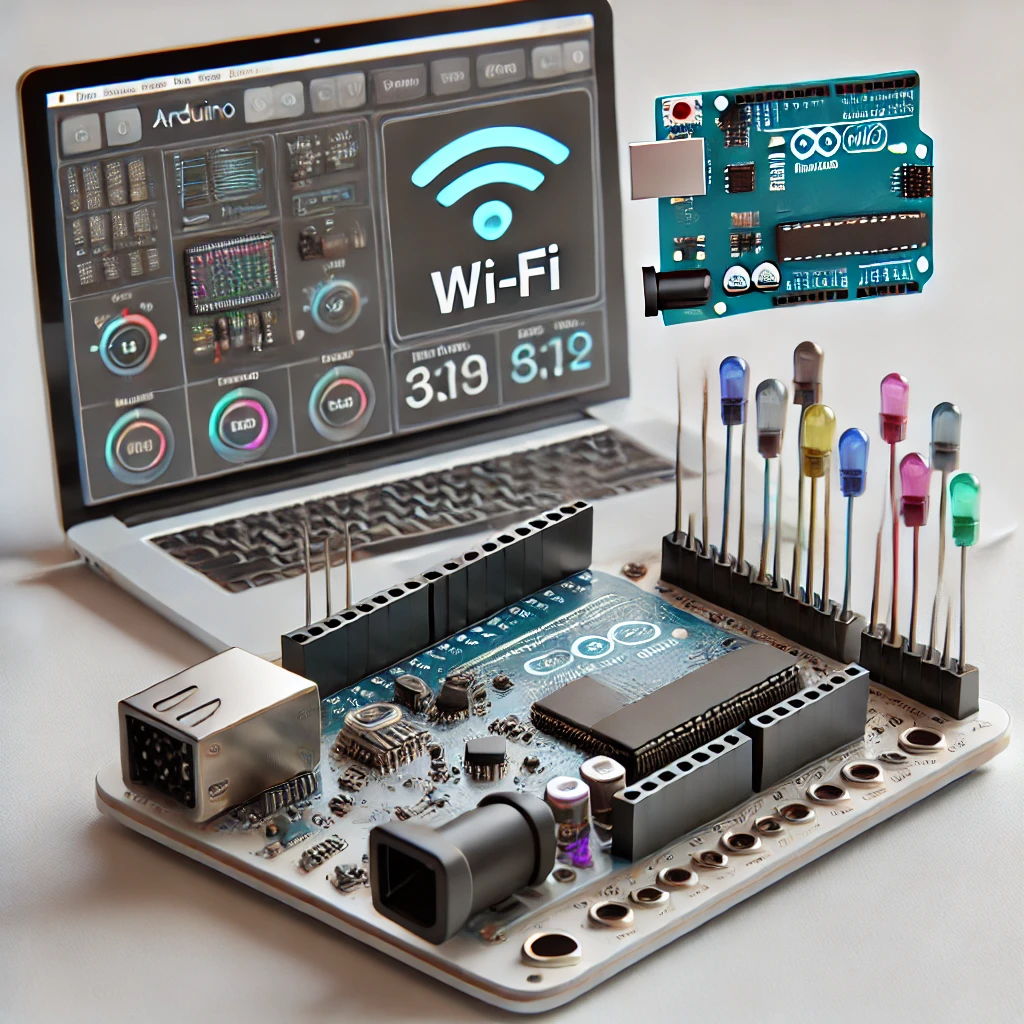
Here’s the WebSockets version for smooth, real-time motor control via Wi-Fi. 🚀
🔹 Why Use WebSockets? 📌 1️⃣ Arduino R4 WiFi Code This sets up a WebSocket server on port 81 to control:✅ SG90 servo motor✅ 28BYJ-48 …
Unravel the Mystery of Electronics
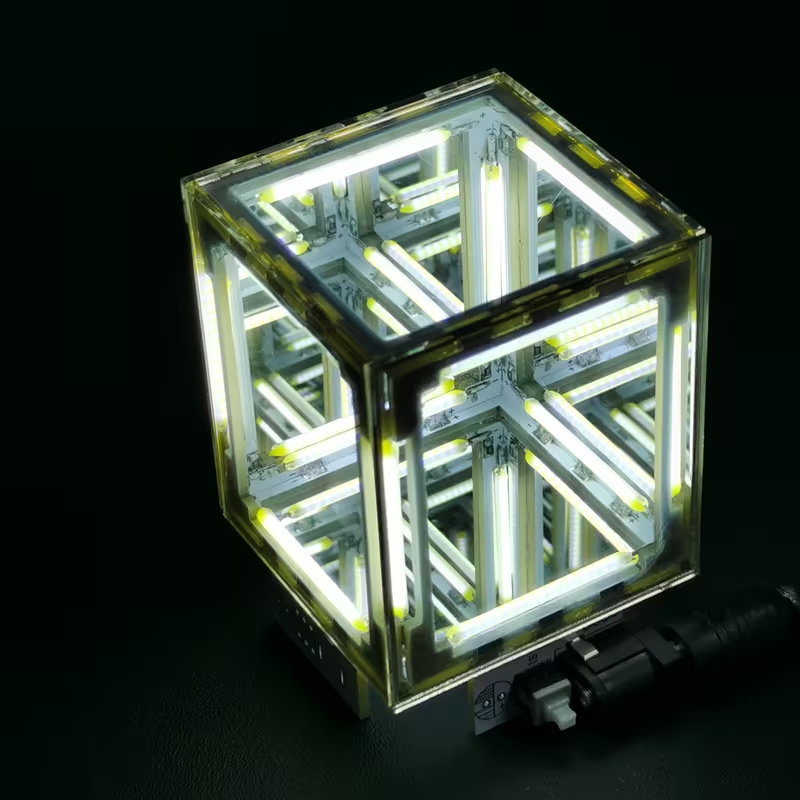
Listing specifies 5-volt direct current. Soldering required; battery and glue not included.
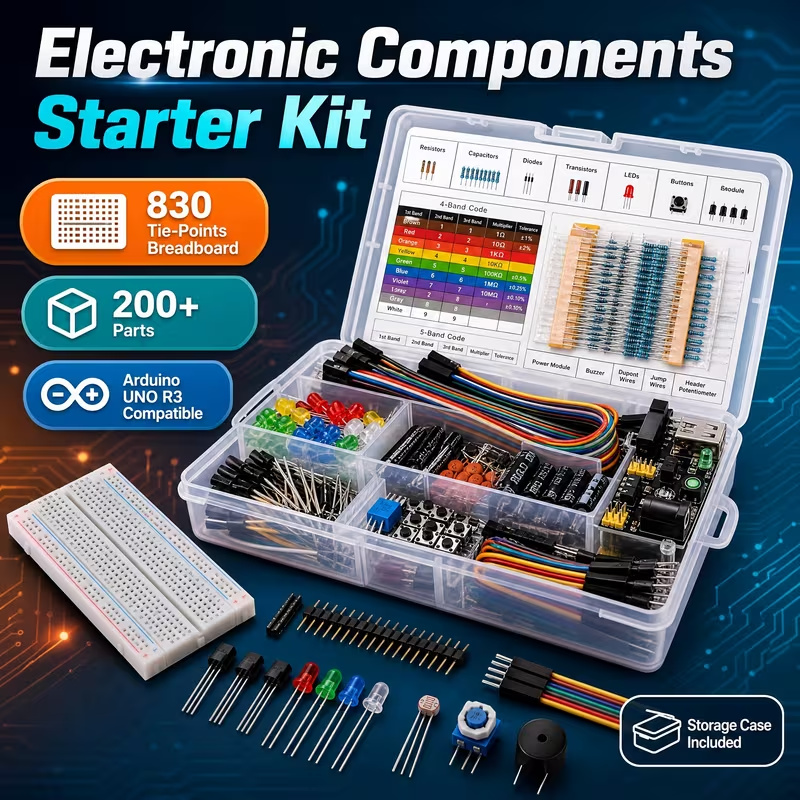
Breadboard, wires and assorted parts. Arduino controller board not included.
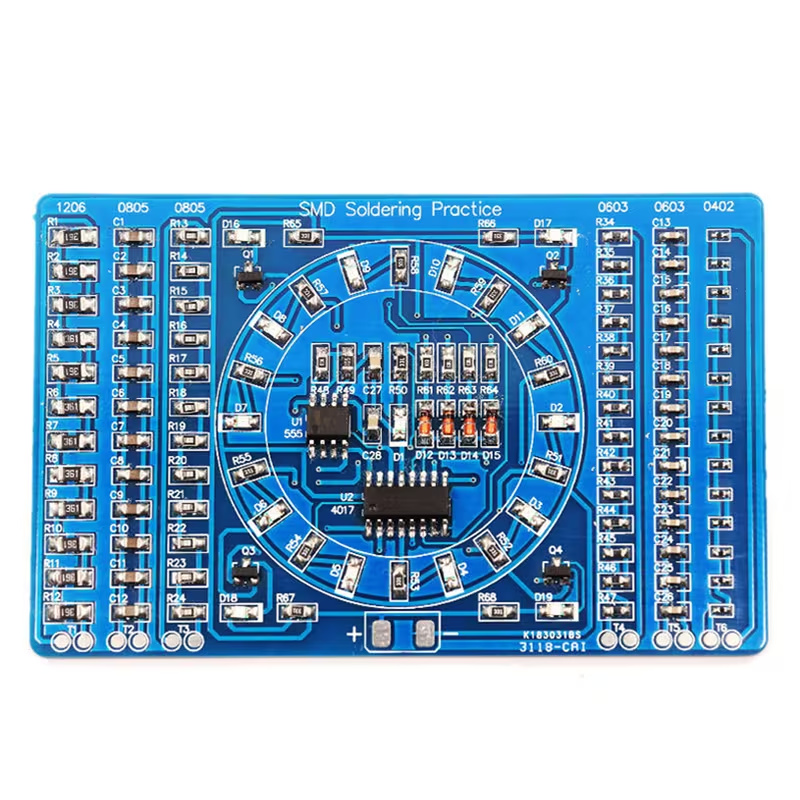
Surface-mount soldering practice. Battery and battery holder not included.
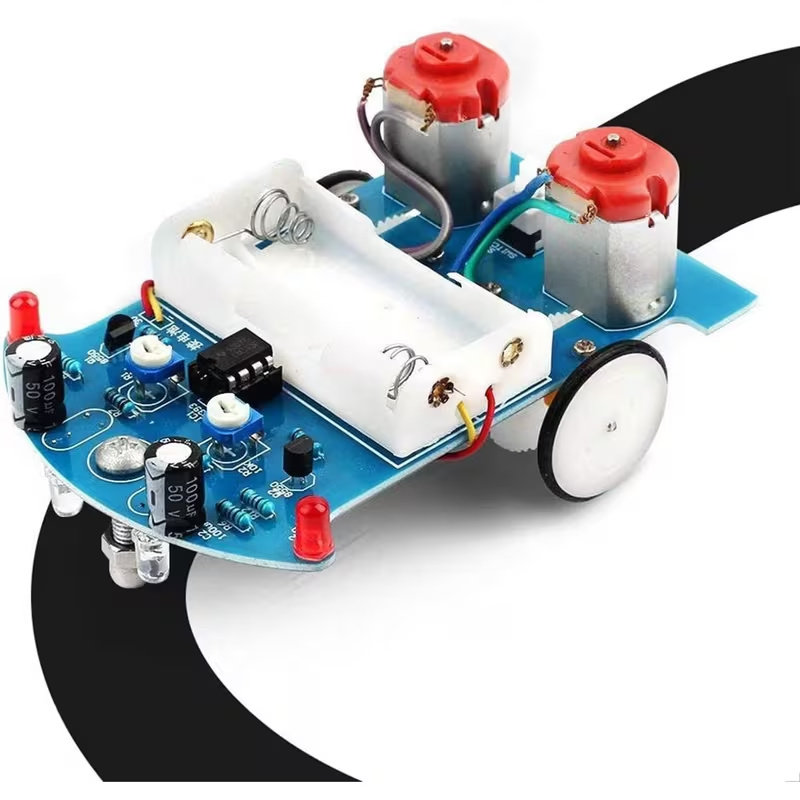
Soldering and assembly required. Check battery and track requirements before buying.
Tricky Circuit may earn a commission through these links. Product ideas have not been bench-tested by Tricky Circuit and are not verified lesson parts lists.
Arduino is an open-source electronics platform based on easy-to-use hardware and software. Arduino boards are able to read inputs—light on a sensor, a finger on a button, or a Twitter message—and turn it into an output—activating a motor, turning on an LED, publishing something online. You can tell your board what to do by sending a set of instructions to the microcontroller on the board. To do so you use the Arduino programming language (based on Wiring), and the Arduino Software (IDE), based on Processing.
🔹 Why Use WebSockets? 📌 1️⃣ Arduino R4 WiFi Code This sets up a WebSocket server on port 81 to control:✅ SG90 servo motor✅ 28BYJ-48 …
🔍 Overview Yes, you can absolutely play music on an Arduino! There are several approaches depending on your project needs and hardware: 💡 Method 1: …
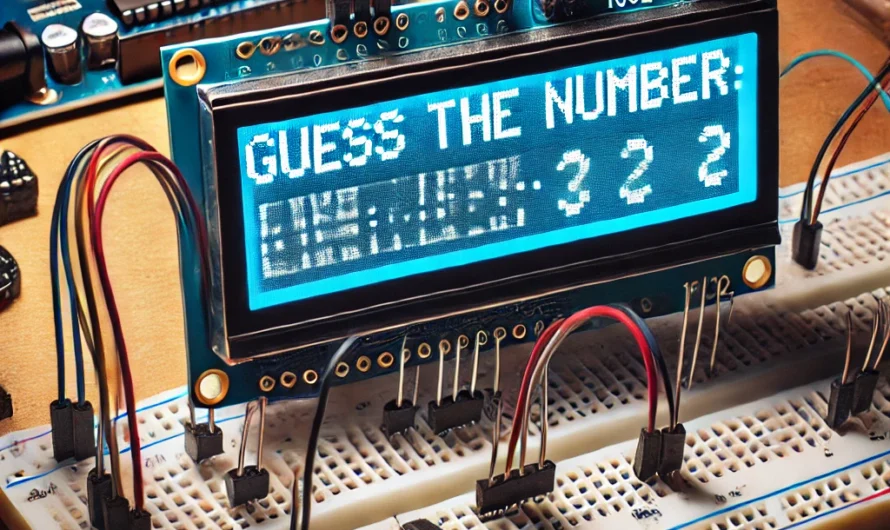
Adding a scoring system not only makes the game more challenging but also provides players with a quantitative measure of their skill or progress.
This update introduces basic obstacle mechanics and increases the complexity of the game. You can further expand this by adding multiple obstacle types, varying speeds, or even scores based on how many obstacles are successfully avoided.
This setup creates a very basic “Jump & Move” game using an Arduino, buttons, and an LCD. It’s a perfect foundation to explore more complex game mechanics and enhance your skills in programming and electronics design.
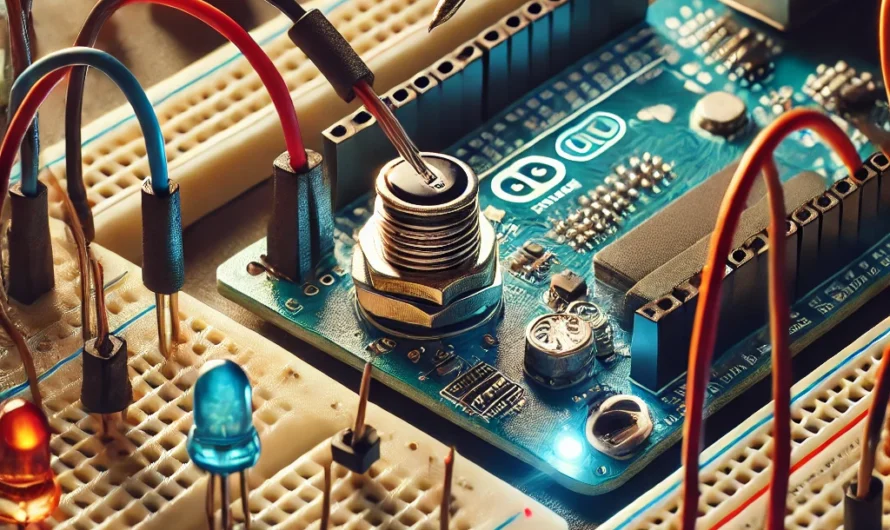
Exploring buttons with Arduino opens up many fun and educational opportunities. Here’s a step-by-step guide on setting up a basic project to control an LED …
Understanding the functionality of digital vs. analog pins and the nature of button signals can help in choosing the right type of pin for buttons …
This sample text RPG is a starting point for building a retro, text-based adventure on your Arduino with an I2C LCD 1602. Although the LCD size is limited, you can still craft engaging stories and interactive choices. Feel free to expand the game with more scenes, character stats, and features to create your very own Arduino RPG!
🔧 Components Needed 📌 Wiring Connections 1. DHT11 Sensor: 2. I2C LCD 1602 Display: Note: The I2C address for the LCD is often 0x27. If …
🔧 Components Needed 📌 Wiring Connections 1. I2C LCD 1602 Display 2. Reset/Advance Button 💻 Code Example Below is the complete sketch that implements the …
Explore these do-it-yourself project kits. Check the selected option, included parts and instructions on each offer.
Tricky Circuit may earn a commission if you buy through these Temu affiliate links. These are product ideas; they have not been bench-tested by Tricky Circuit and are not verified lesson parts lists.
Supplier product photo
Listing specifies 5-volt direct current. Soldering required; battery and glue not included.
Supplier product photo
Breadboard, wires and assorted parts. Arduino controller board not included.
Supplier product photo
Surface-mount soldering practice. Battery and battery holder not included.
Supplier product photo
Soldering and assembly required. Check battery and track requirements before buying.