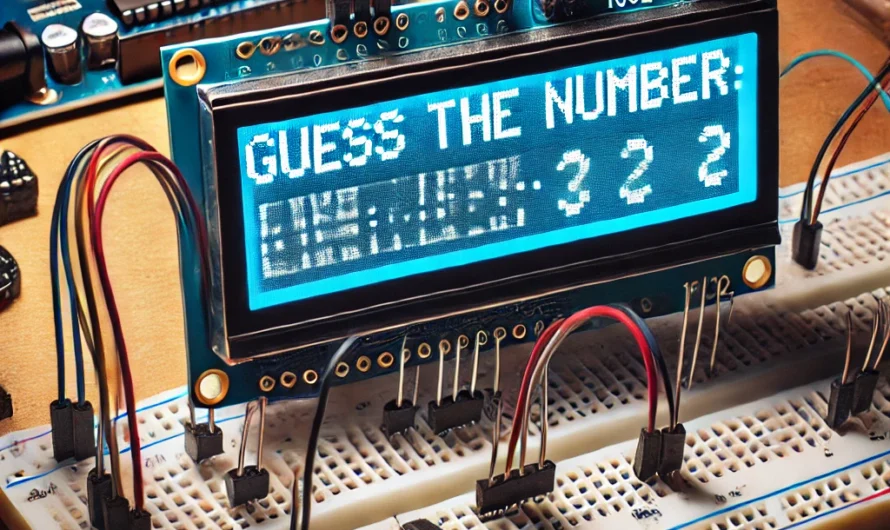
🎲 Retro Game: Guess the Number
🔧 Components Needed 📌 Wiring Connections Note: The typical I2C address for these displays is 0x27. Verify with an I2C scanner if needed. 💻 Code …
Unravel the Mystery of Electronics
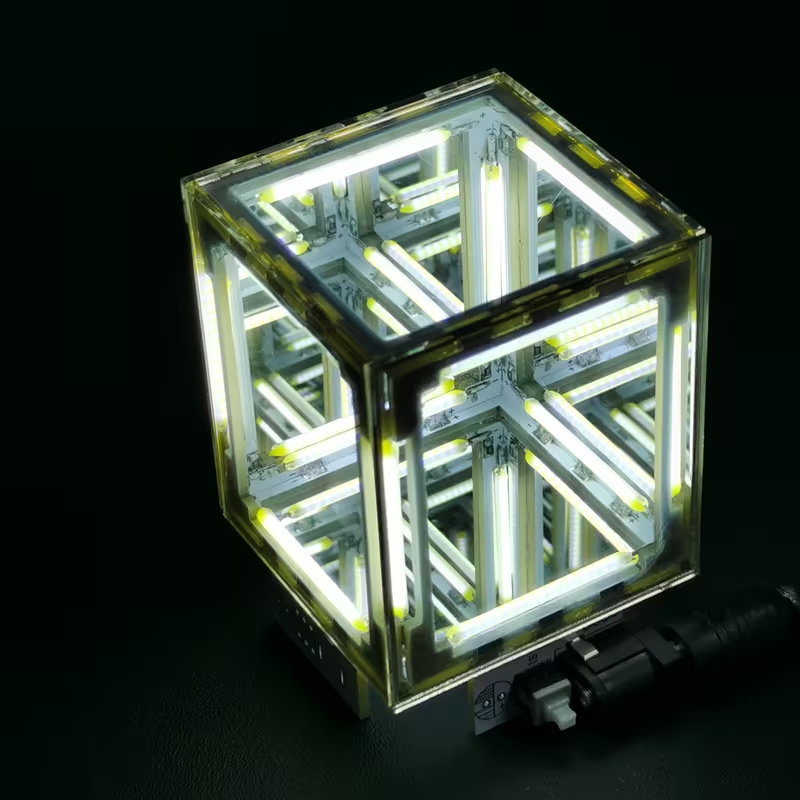
Listing specifies 5-volt direct current. Soldering required; battery and glue not included.
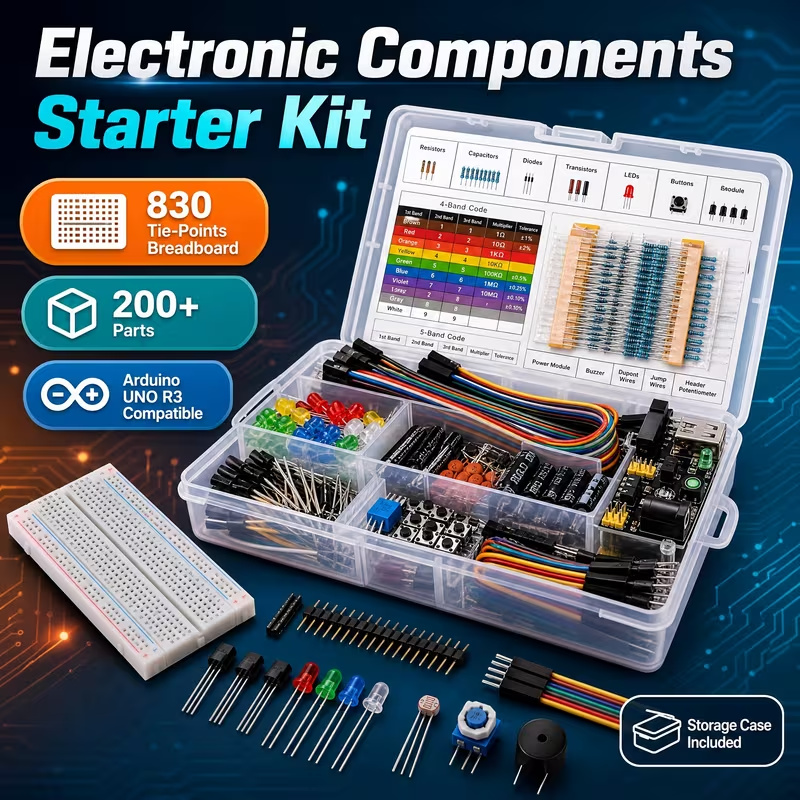
Breadboard, wires and assorted parts. Arduino controller board not included.
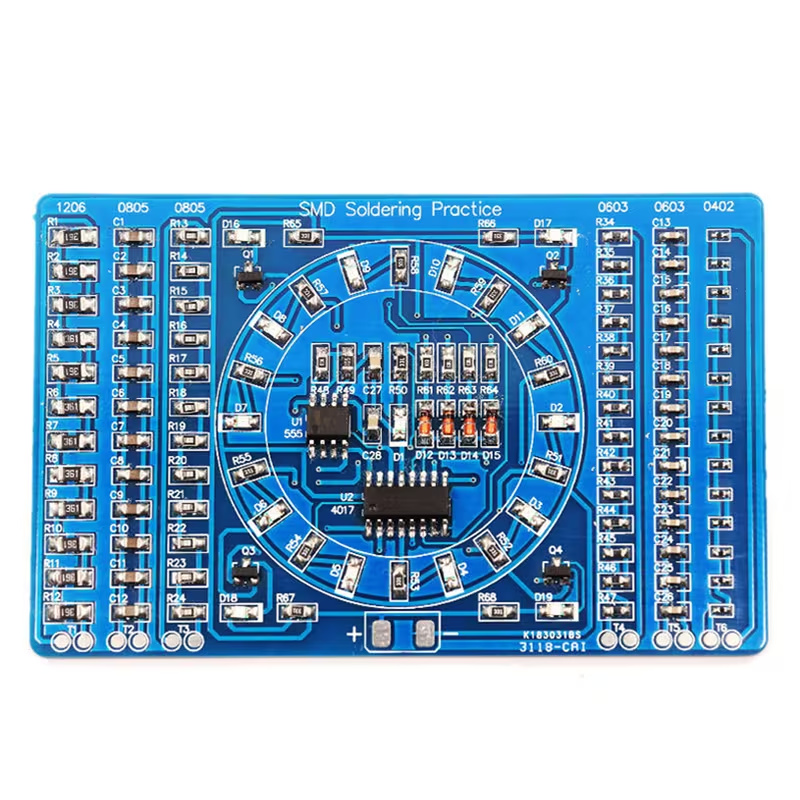
Surface-mount soldering practice. Battery and battery holder not included.
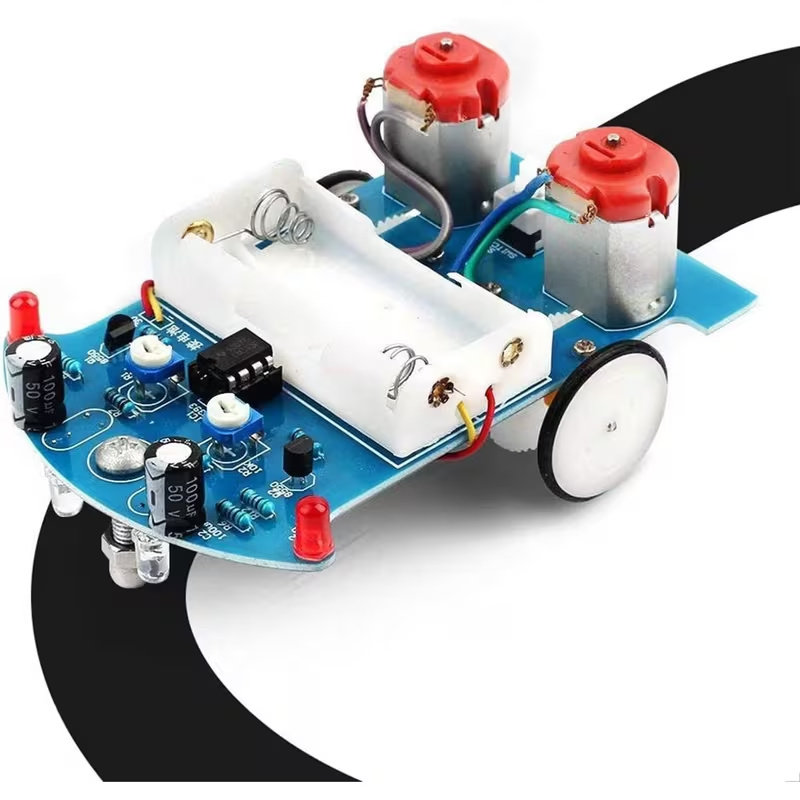
Soldering and assembly required. Check battery and track requirements before buying.
Tricky Circuit may earn a commission through these links. Product ideas have not been bench-tested by Tricky Circuit and are not verified lesson parts lists.
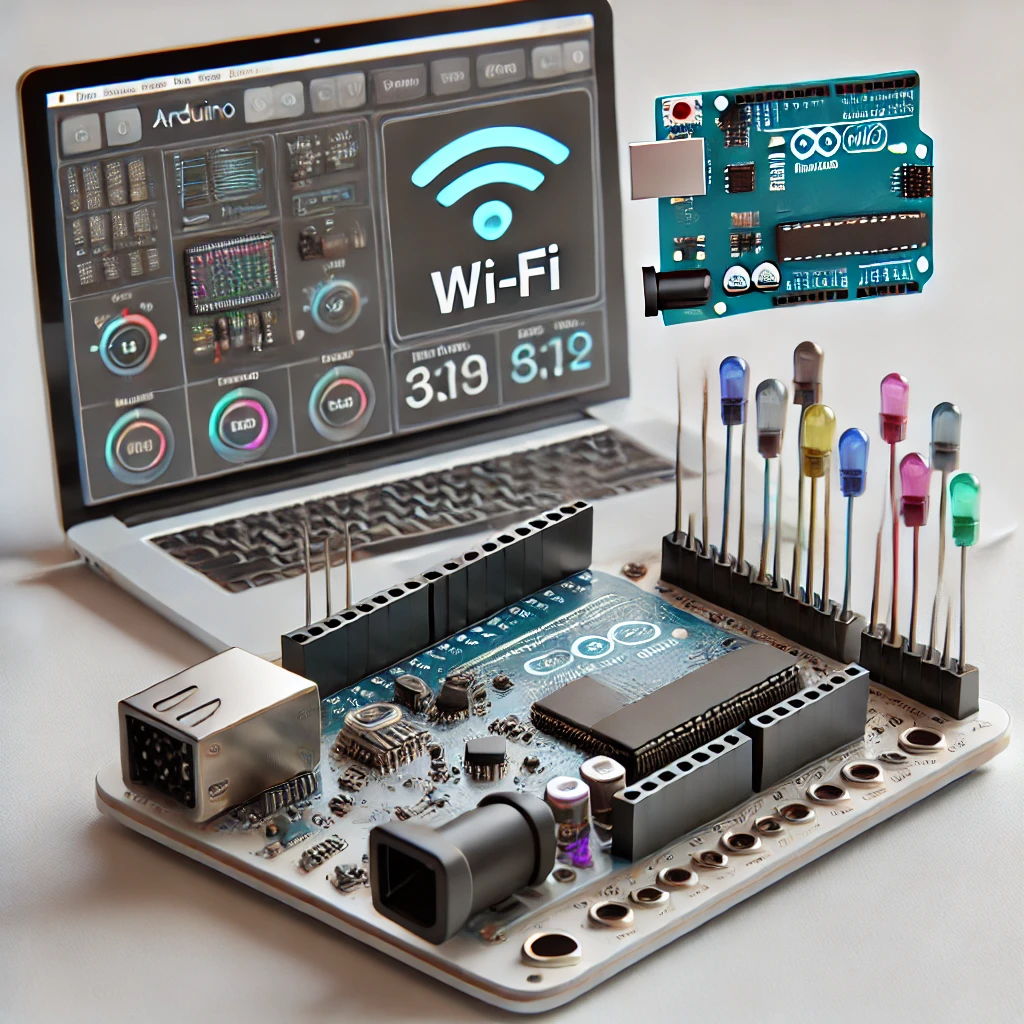
Arduino is an open-source electronics platform based on easy-to-use hardware and software. Arduino boards are able to read inputs—light on a sensor, a finger on a button, or a Twitter message—and turn it into an output—activating a motor, turning on an LED, publishing something online. You can tell your board what to do by sending a set of instructions to the microcontroller on the board. To do so you use the Arduino programming language (based on Wiring), and the Arduino Software (IDE), based on Processing.
🔧 Components Needed 📌 Wiring Connections Note: The typical I2C address for these displays is 0x27. Verify with an I2C scanner if needed. 💻 Code …
1️⃣ Sensor Data Display 2️⃣ Digital Clock / Timer 3️⃣ Interactive Menu & User Interface 4️⃣ Information Display for IoT Projects 5️⃣ Fun & Creative …
🔹 Plan: How It Works 1️⃣ The Arduino R4 WiFi creates a web server.2️⃣ A simple webpage (with buttons/sliders) controls the motors.3️⃣ The Arduino reads …
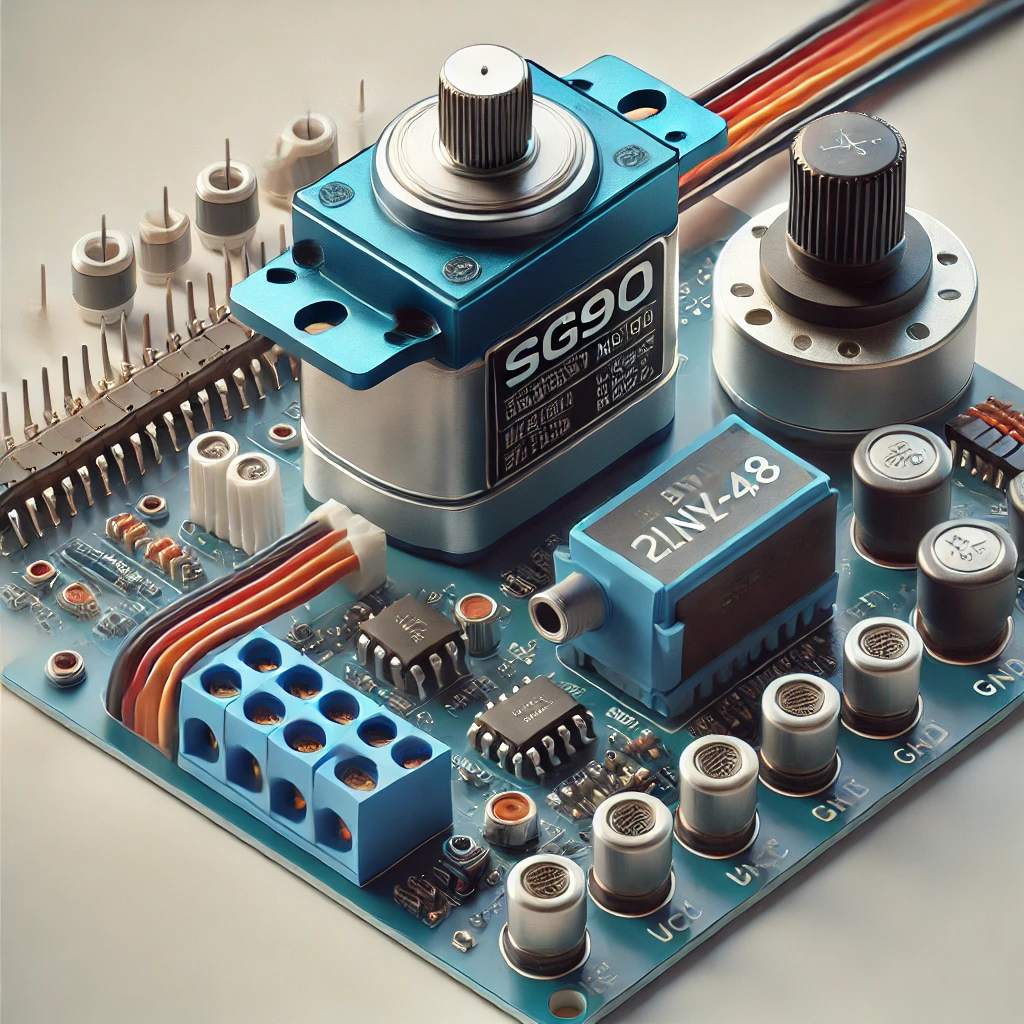
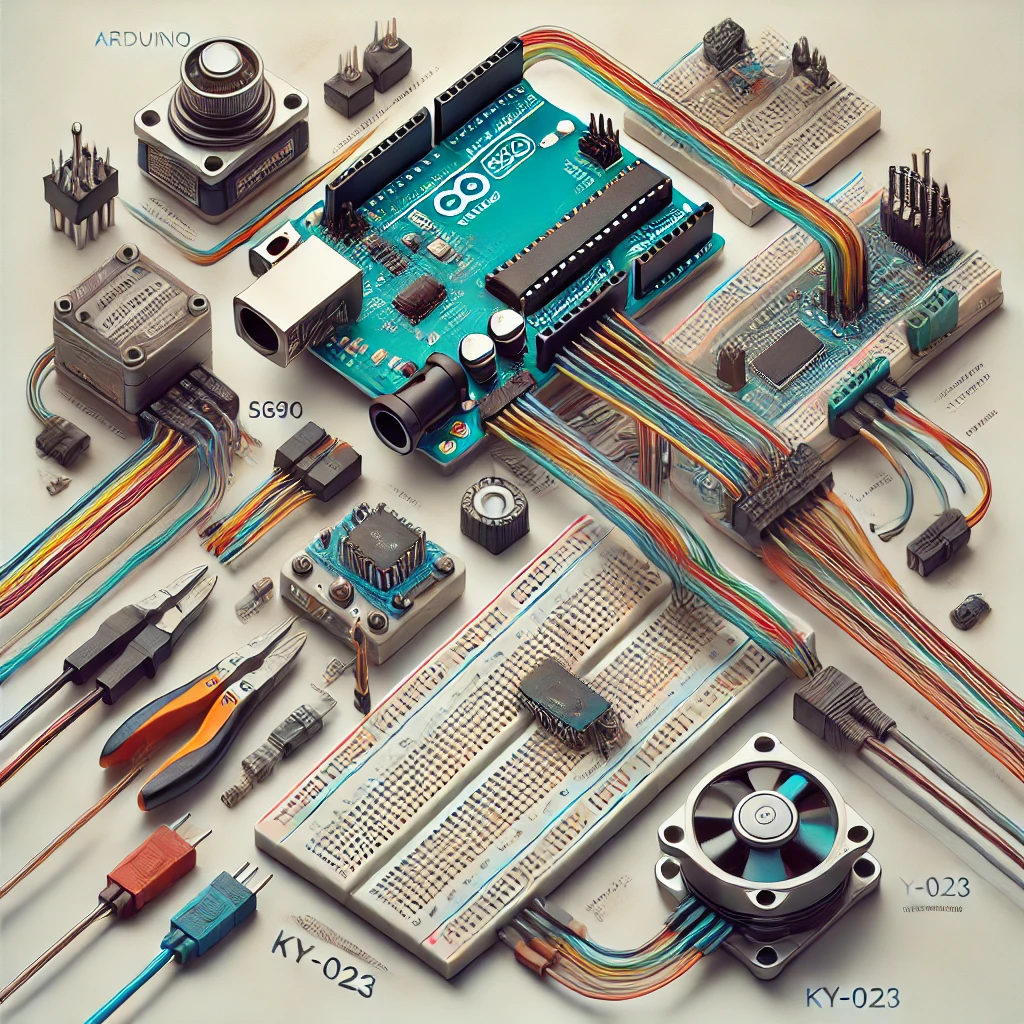
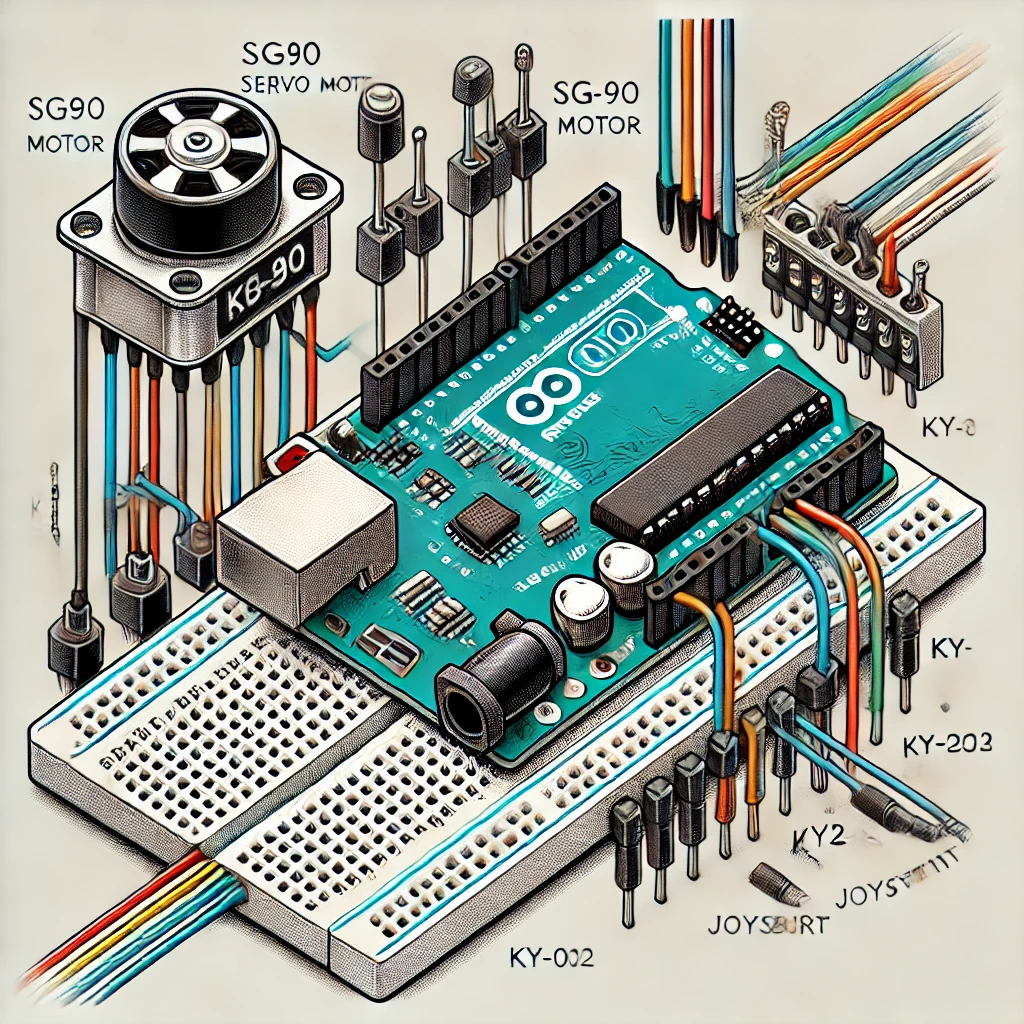
🔹 How It Will Work 🔹 Components Needed ✅ Arduino (Uno/Nano/etc.)✅ SG90 Servo Motor✅ 28BYJ-48 Stepper Motor + ULN2003 Driver✅ Joystick Module (KY-023 or similar)✅ …
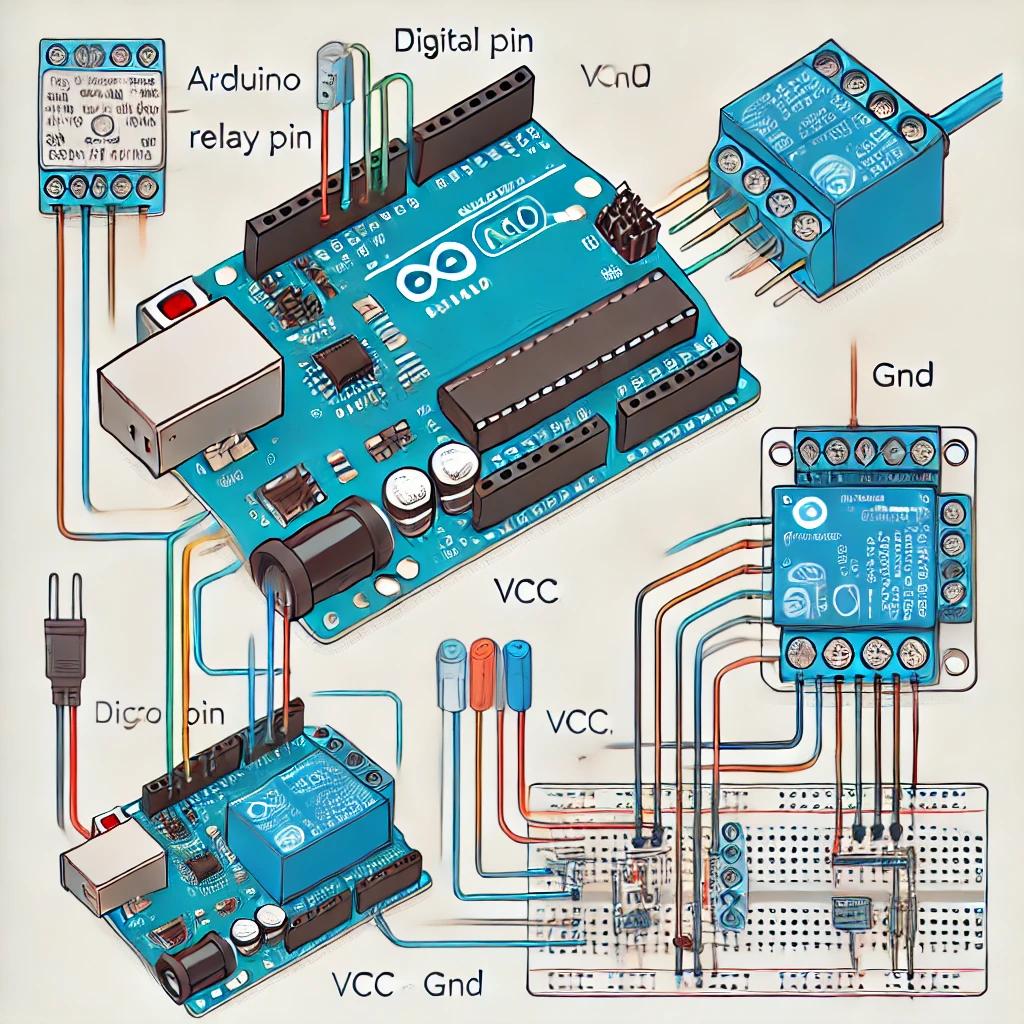
Materials Needed: 💡 Wiring Diagram: 📟 Control Code: ⚠️ Important Notes:
🔧 Components Needed 📌 Wiring Diagram 1. Servo Connection (SG90) 2. Potentiometer Connection 3. Button Connections Tip: Use the Arduino’s internal pull-up resistors for the …
🔹 Components Needed ✅ Arduino (Uno/Nano/etc.)✅ SG90 Servo Motor✅ Joystick Module (XY type, like KY-023)✅ Jumper Wires & Breadboard 🔹 Understanding the Joystick The joystick …
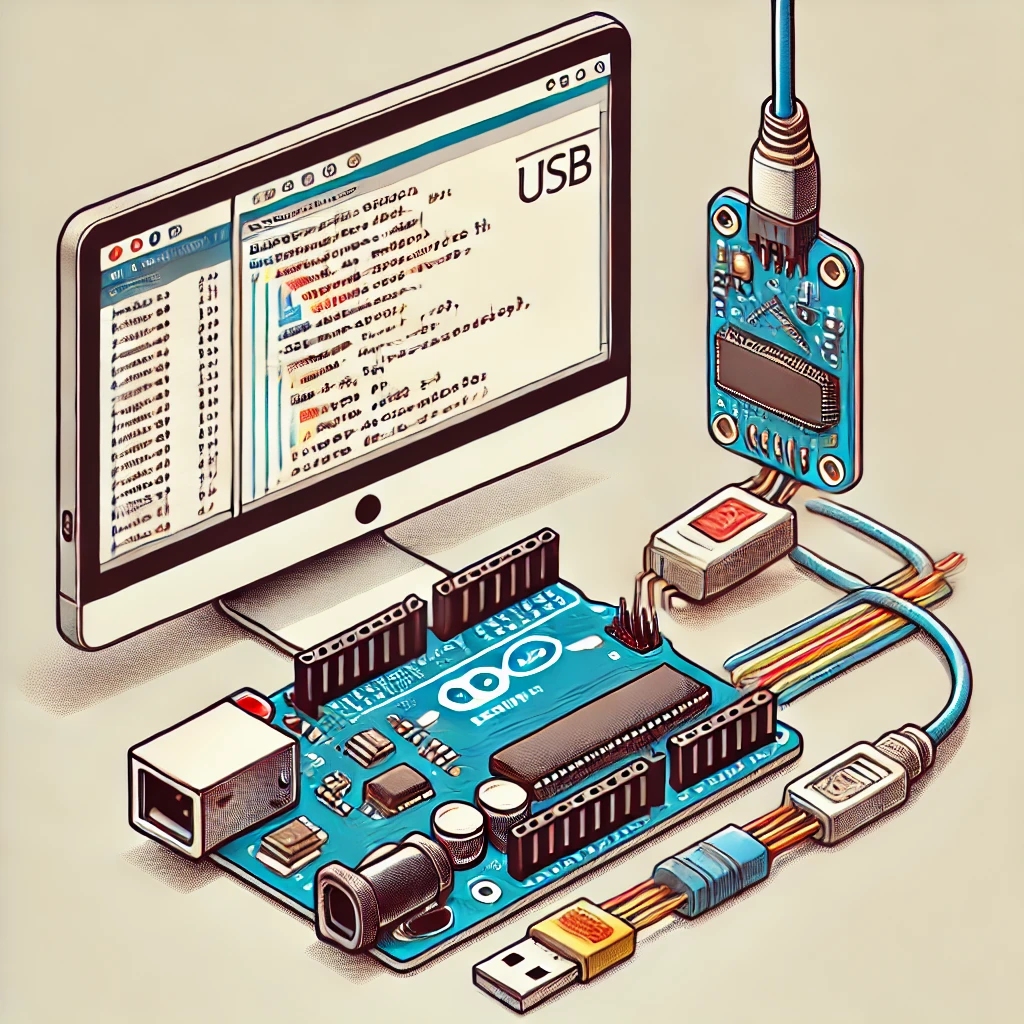
Upload a sketch with the Arduino IDE: connect your board, select the board and port, compile the code, upload it and check that it runs.
🔹 Step 1: Components Needed ✅ Microcontroller – Arduino Nano/Uno✅ Servo Motor – SG90 (small) or MG996R (stronger)✅ Power Supply – 5V (for servos)✅ Potentiometer …
🔹 Components Needed ✅ Arduino (Uno/Nano/etc.)✅ SG90 Servo Motor✅ 10kΩ Potentiometer✅ Jumper Wires & Breadboard 🔹 Circuit Connections Component Pin Connect To SG90 Servo Red …
Explore these do-it-yourself project kits. Check the selected option, included parts and instructions on each offer.
Tricky Circuit may earn a commission if you buy through these Temu affiliate links. These are product ideas; they have not been bench-tested by Tricky Circuit and are not verified lesson parts lists.
Supplier product photo
Listing specifies 5-volt direct current. Soldering required; battery and glue not included.
Supplier product photo
Breadboard, wires and assorted parts. Arduino controller board not included.
Supplier product photo
Surface-mount soldering practice. Battery and battery holder not included.
Supplier product photo
Soldering and assembly required. Check battery and track requirements before buying.