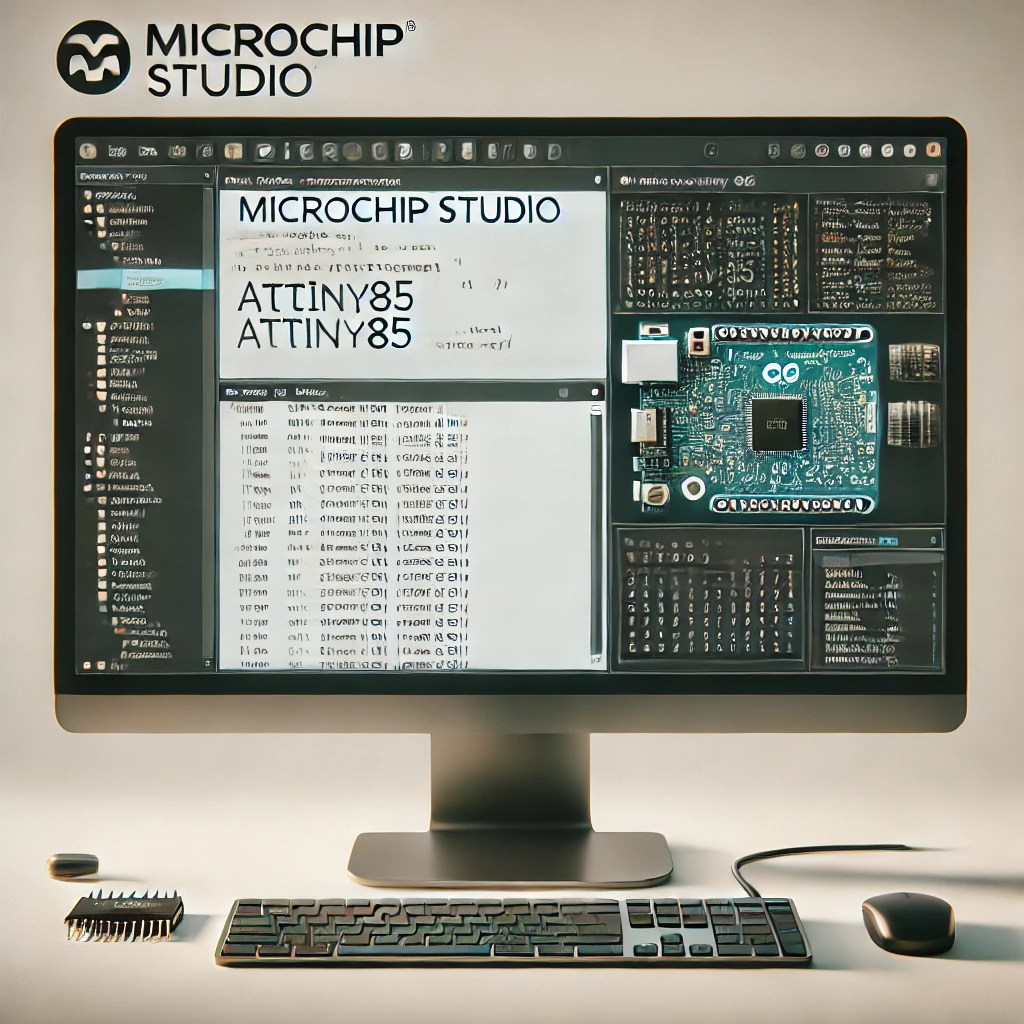
🔍 Overview
- Formerly Atmel Studio:
Microchip Studio was previously known as Atmel Studio. It was rebranded after Microchip Technology acquired Atmel. - Purpose:
It’s an integrated development environment (IDE) designed for developing and debugging applications for AVR and SAM microcontrollers. - Platform:
Available for Windows and offers a seamless experience with powerful debugging and code editing features.
⚙️ Key Features
- 📝 Code Editor:
- Supports C, C++, and assembly language.
- Integrated with IntelliSense for smart code completion and error highlighting.
- 🔧 Debugging Tools:
- Advanced debugging with breakpoints, watch windows, and variable inspection.
- Supports both on-chip debugging and simulation for AVR and SAM devices.
- 💡 Simulation:
- You can simulate peripheral behavior and test your code without needing actual hardware, which is great for early-stage development.
- 📊 Integrated Build System:
- Uses MSBuild under the hood for compiling projects.
- Seamlessly integrates with Visual Studio-like project management.
- 🔌 Device Support:
- Fully supports a wide range of AVR microcontrollers (including ATtiny and ATmega series).
- Also supports ARM-based SAM microcontrollers, allowing you to work on more advanced projects.
- 🌐 Integration with Tools:
- Works well with Microchip’s hardware programmers/debuggers (e.g., MPLAB SNAP, ICE, or JTAG interfaces).
- Can import libraries and projects from the Arduino ecosystem with some modifications.
🔍 Why Use Microchip Studio?
- 👨💻 Professional Development:
- Offers a robust environment for both hobbyists and professional developers.
- Ideal for projects that require in-depth debugging and performance optimization.
- ⚙️ Advanced Debugging:
- The in-depth debugging tools allow you to inspect registers, memory, and peripheral states in real time.
- 🔄 Seamless Workflow:
- With its Visual Studio-like interface, developers familiar with Microsoft’s ecosystem will find it easy to adapt.
- 🛠️ Comprehensive Device Support:
- Whether you’re working on a simple ATtiny project or a complex SAM application, Microchip Studio has you covered.
🚀 Getting Started with Microchip Studio
- Download & Install:
- Visit the Microchip Studio website and download the latest version.
- Install it on your Windows machine following the setup wizard.
- Create a New Project:
- Open Microchip Studio and choose File > New > Project.
- Select a template for AVR or SAM projects based on your target microcontroller.
- Configure Your Project:
- Set up your project properties (clock speed, optimization settings, etc.).
- Add source files and libraries as needed.
- Debugging & Simulation:
- Connect your hardware programmer/debugger, or use the built-in simulator.
- Set breakpoints and start debugging to test your application.
- Build & Flash:
- Use the build tools to compile your project.
- Flash the firmware onto your device via the integrated programming tools.
💡 Conclusion
Microchip Studio is a powerful, professional-grade IDE that offers advanced features for AVR and SAM microcontroller development. Its rich set of debugging tools, integrated simulation, and comprehensive device support make it a favorite among professionals and serious hobbyists alike. Whether you’re working on small projects with ATtiny devices or more complex systems with ARM-based SAM microcontrollers, Microchip Studio provides the tools you need for efficient development.
I hope this detailed overview helps! Happy coding! 😊👍